Maintenance: A/C In-Cabin Filter Replacement
*You should definately have the a/c filter changed at least every
30k miles. If you live in a dirty area like L.A., I would recommend you
do it every 15k miles or once a year. At $30 for two filters, it's a very
small price to pay each year.
Tools needed: Phillip head screwdriver, Flathead screw
driver
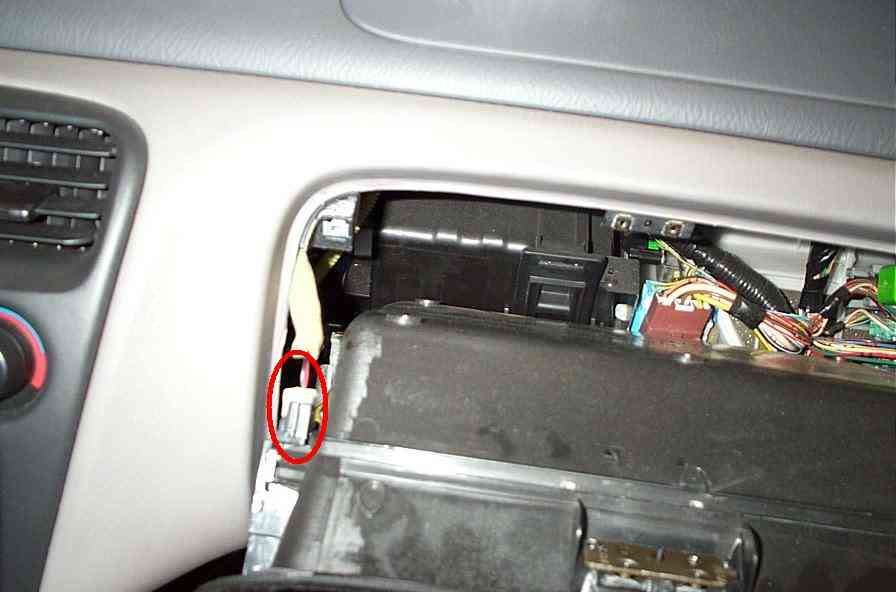
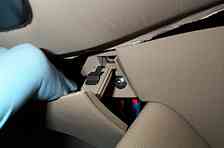
Step1: There are 3 screws holding the bottom panel under
the glove box. To access them, you'll need to remove the passenger side
fuse cover and the small panel under the center console. First pop off
the center piece using a flathead screwdriver. Wrap the tip with masking
tape to prevent scratching. For the passenger side fuse panel, just grab
the handle and tug it off.
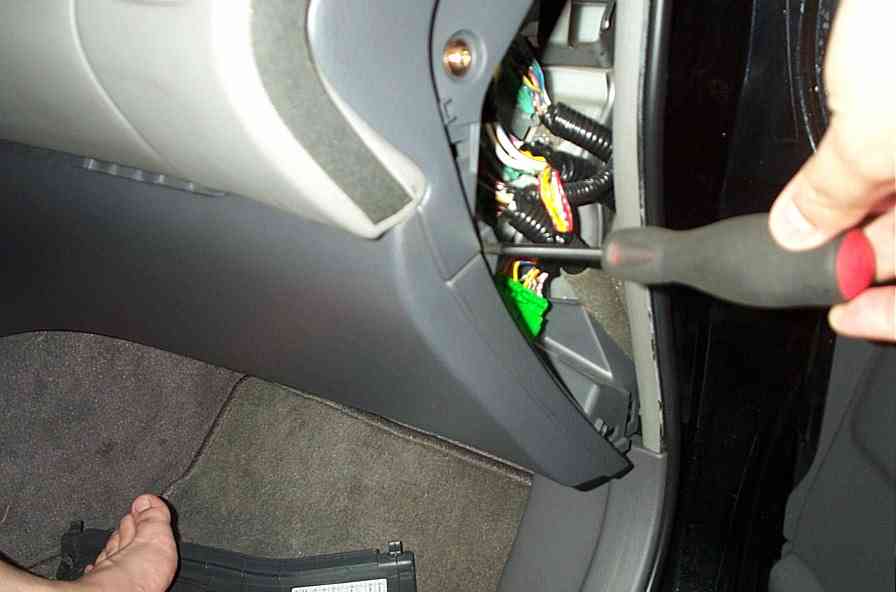
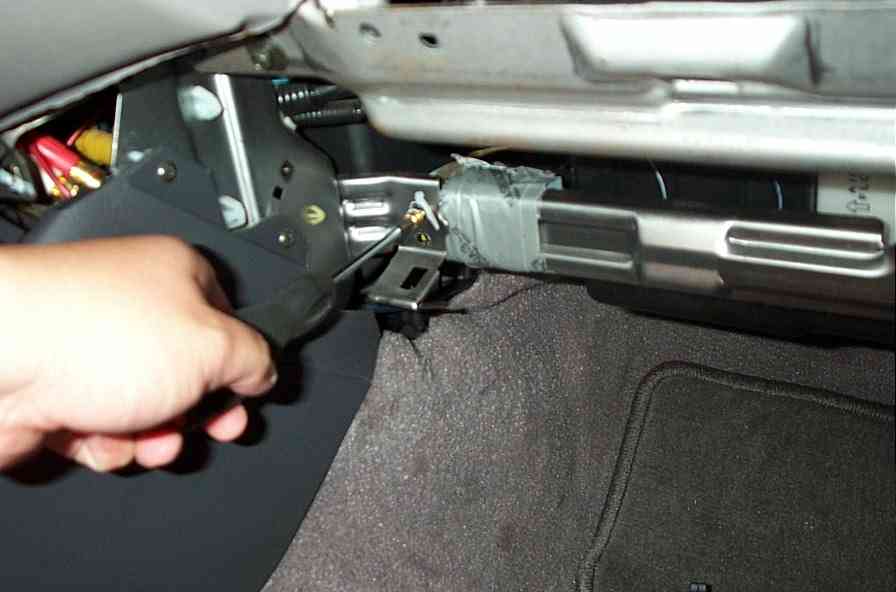
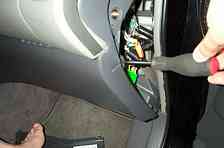
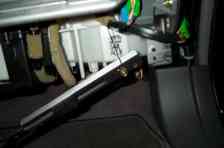
Step2: There is one screw under the center console area (Pic
in Step1), and 2 screws holding the panel in place. One on top, one on the
bottom. *Ignore my feet
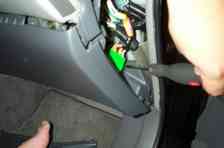
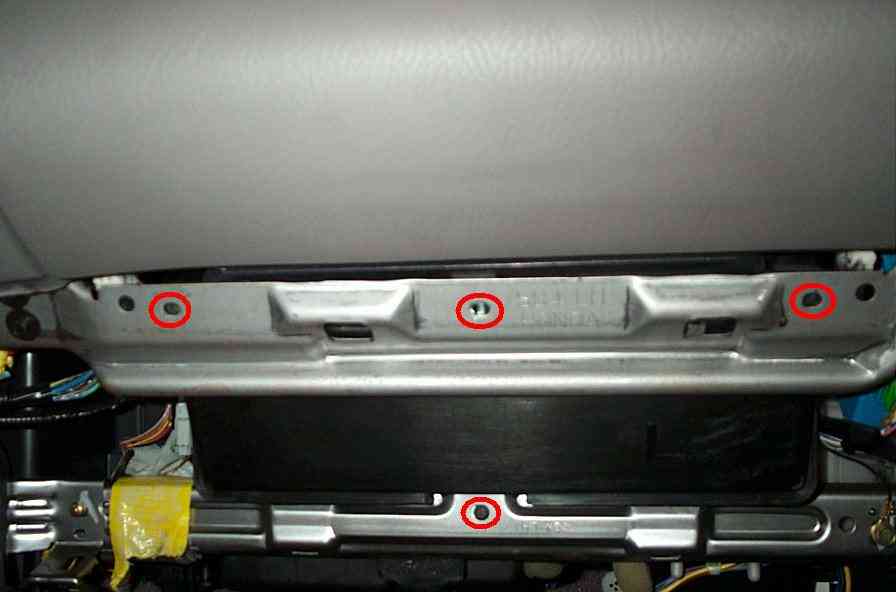
Step3: Remove the 4 screws on the bottom holding the
glovebox in place.
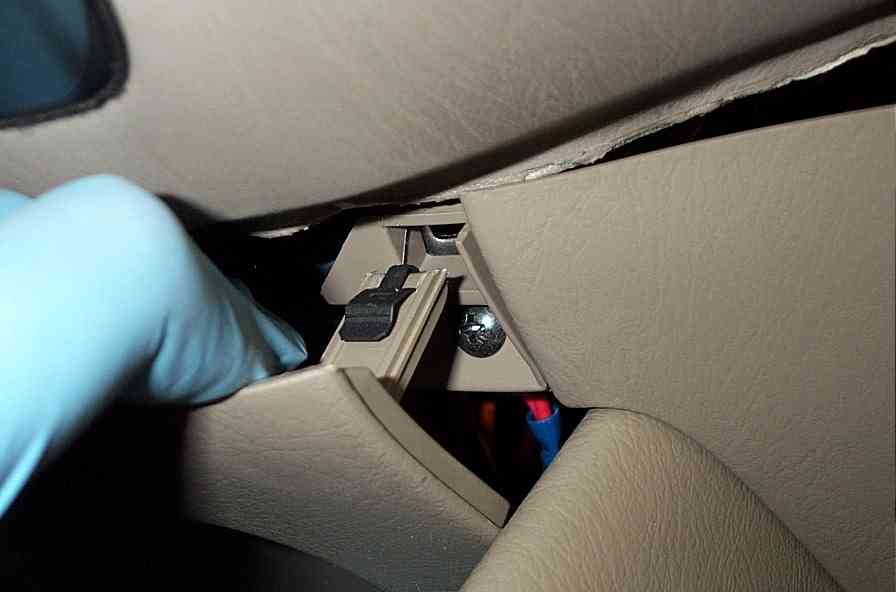
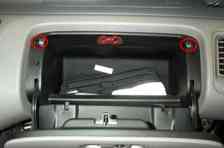
Step4: In order to get to the screw on the top side,
you'll need to remove the caps on the side. Use a small flat head wrapped
in masking tape or a pick if you have one to pop the screw caps off.
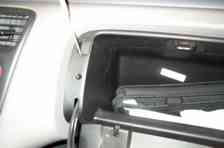
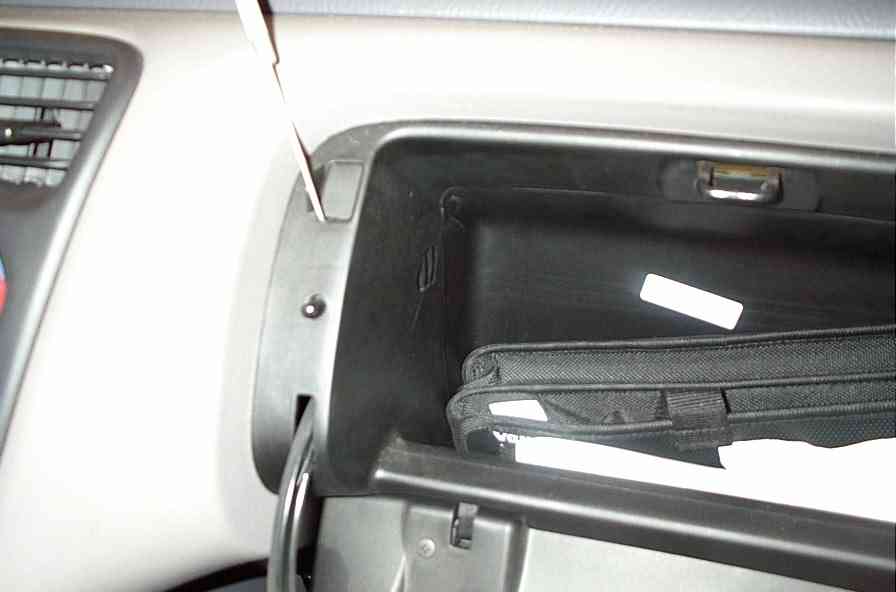
Step5: Remove the 4 screws holding the top portion
of the glovebox. 2 on each side and the 2 under the latch.
Step6: Once the screws are removed, pull the glovebox
out enough where you can see the wiring harness attached to it. Disconnect
and remove the glovebox.
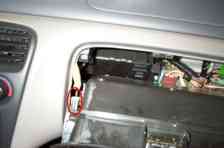
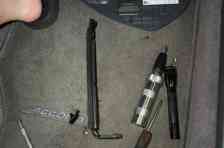
Step7: After the glovebox is removed, you'll need
to remove the lower metal bracket that was supporting the glovebox. There are
two screws, one on each side (*CAUTION: These two screws are on there TIGHT.
I used a impact driver to get them off. I didn't hammer it, but the larger diameter
to turn the stupid thing was needed). The right side also has a ground wire
attached to it. I didn't need to remove mine, but if you like, you can.
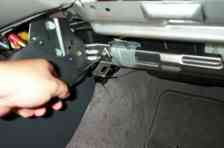
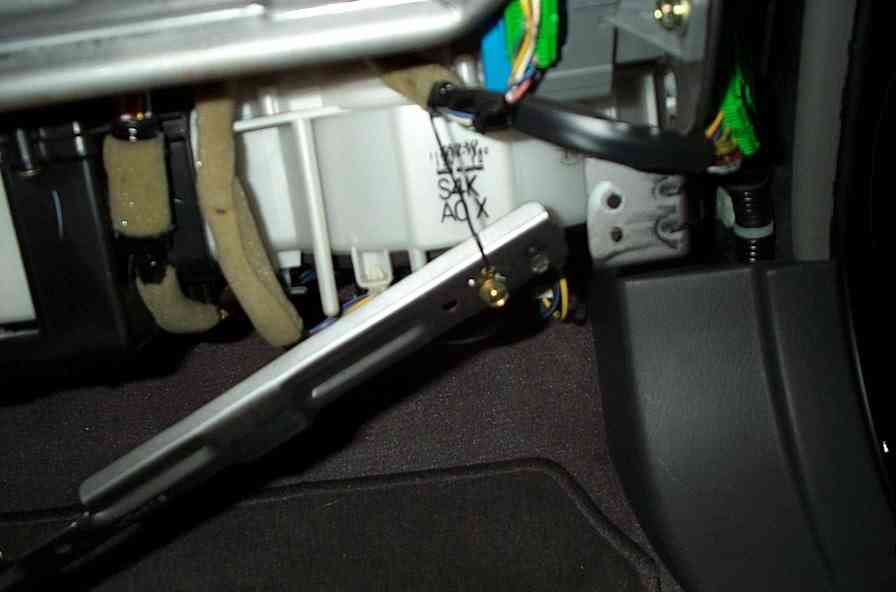
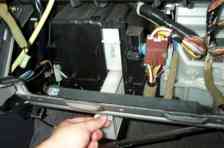
Step8: With the lower bracket out of the way, you can remove
the plastic cover on the condensor. It's very simple to remove, just reach under
and pull the tab. The pic below is a side shot of the cover so you can see how
the tab is holding on the the condensor.
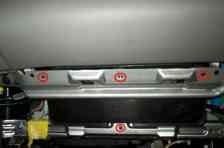
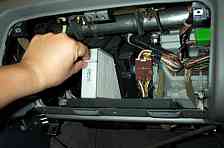
Step9: Now that you have access to the filters, REMOVE THE
BOTTOM ONE FIRST under the bar.
Step10: Remove the 2nd filter above the bar. Remove the filters
from the holders and wash the holders.
Step11: Dry the holders and insert the new filters matching
up the 'Air Flow' sign with the holders. Re-assemble everything in reverse.
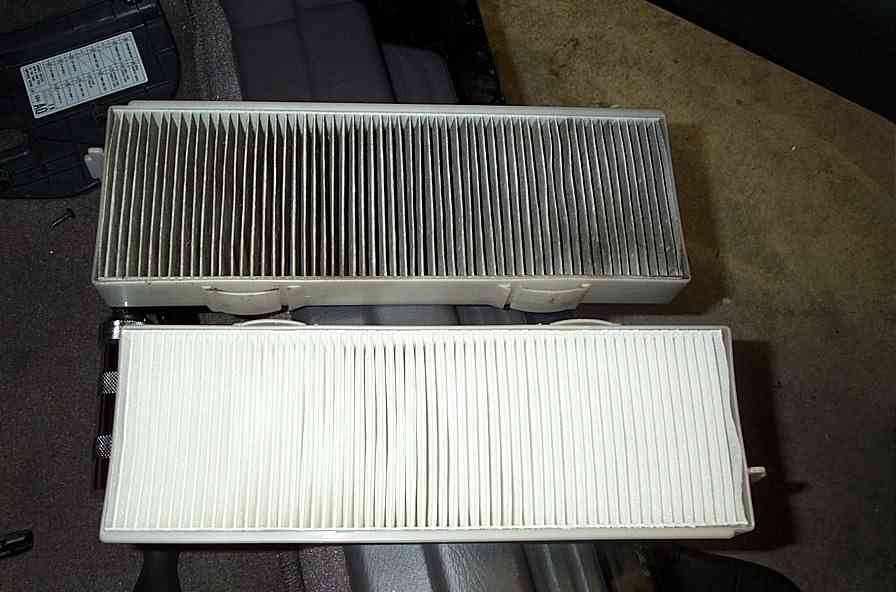
*Comparison of the old and new filter

>>> Home