Step1: To save some time, prepare the battery tie-down rod first. Make a mixture of JB Weld, dab some in the cap and tighten on one end of the threaded rod. Set it aside to let it dry.

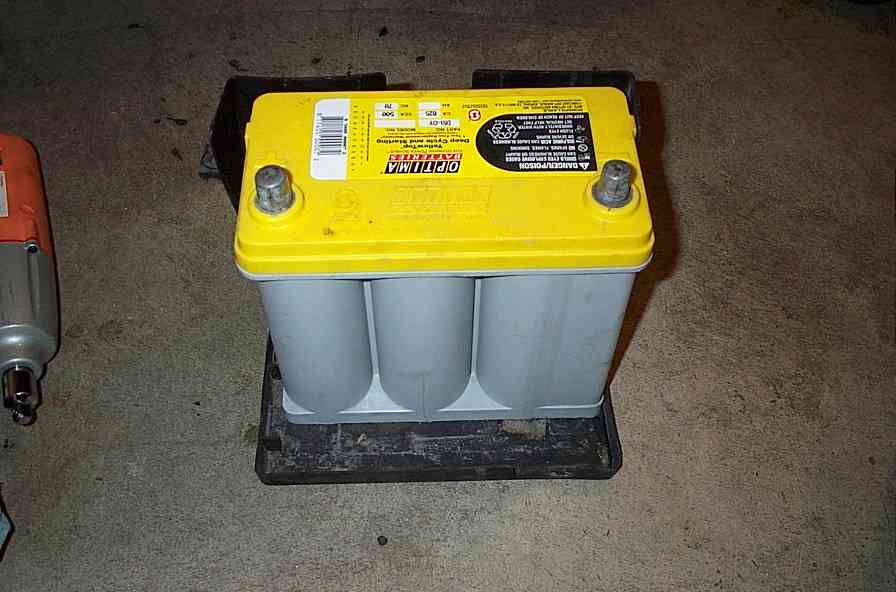
Step2: Remove the battery.
Step3: There's a plastic liner for the battery tray. Remove.
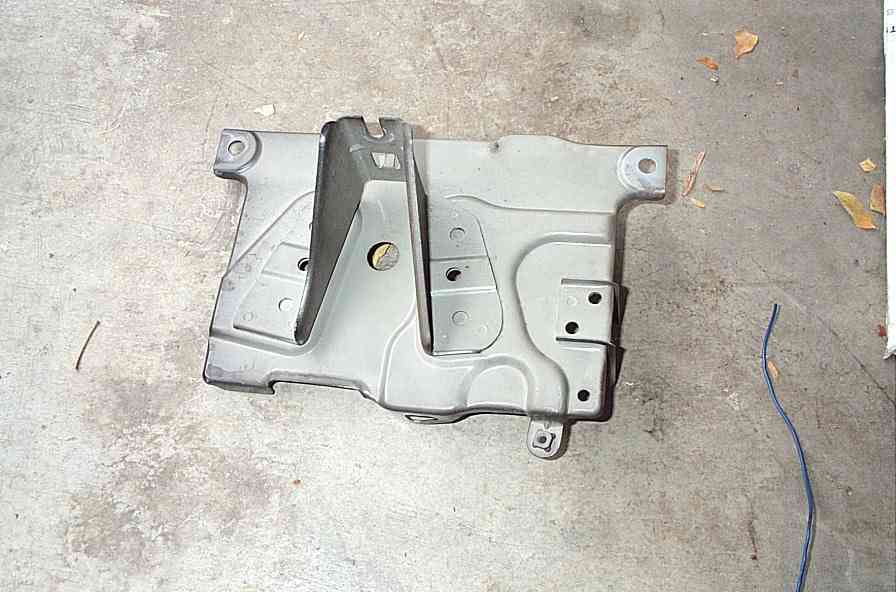
Step4: In order to remove the battery tray, there a total of 4 bolts. 3 of them secure the battery tray, the 4th secures a bracket to the battery tray. 3 bolts are accessable from the top (2 tray bolts, 1 bracket bolt). The last tray bolt is underneath. You'll need a long extension in order to loosen it. Once it's loose, you can remove the bolt by hand by standing in front of the car and reaching under the radiator hose. This picture is a shot of the bottom of the tray to give you an idea of where all the bolts are located.
Step5: Place the new battery in the plastic liner. Figure how you want the battery place keeping in mind how far the terminal cables will reach. Once you've decided, use a permanent marker to trace the shape of the battery onto the liner. *Since the length on mine was the same as the OEM battery, I re-used one end of the factory tie downs.
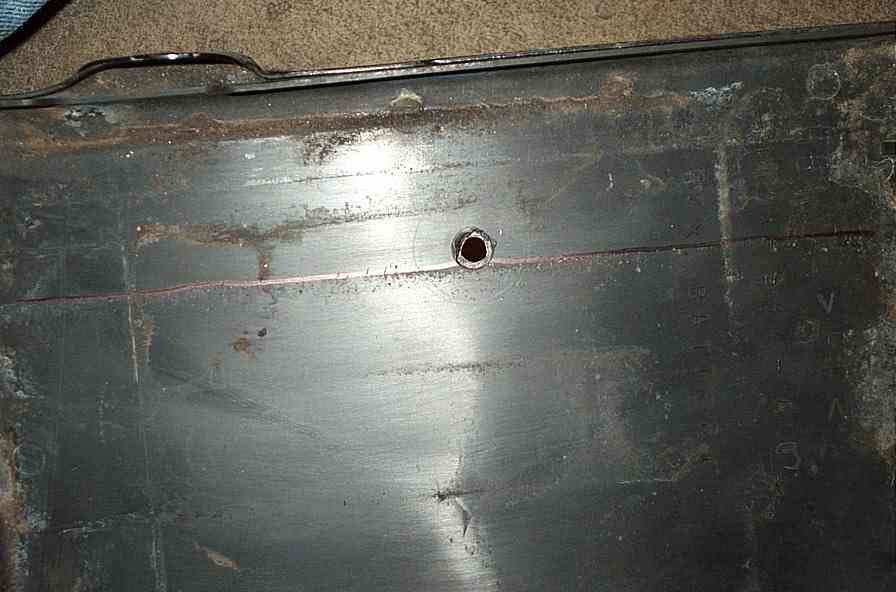
Step6: Determine where you want the tie-down rod and mark it. Keep in mind that the hole will need to be outside of the line, not on the line. Also, place the liner on the tray and look under to make sure it will clear the frame of the car. Once you're set, place the liner on the tray, center it and drill a small pilot hole all the way through. Using the main drill bit, drill the hole on the battery tray just big enough where the threaded rod will pass through. On the liner, drill the hole 2x the size.

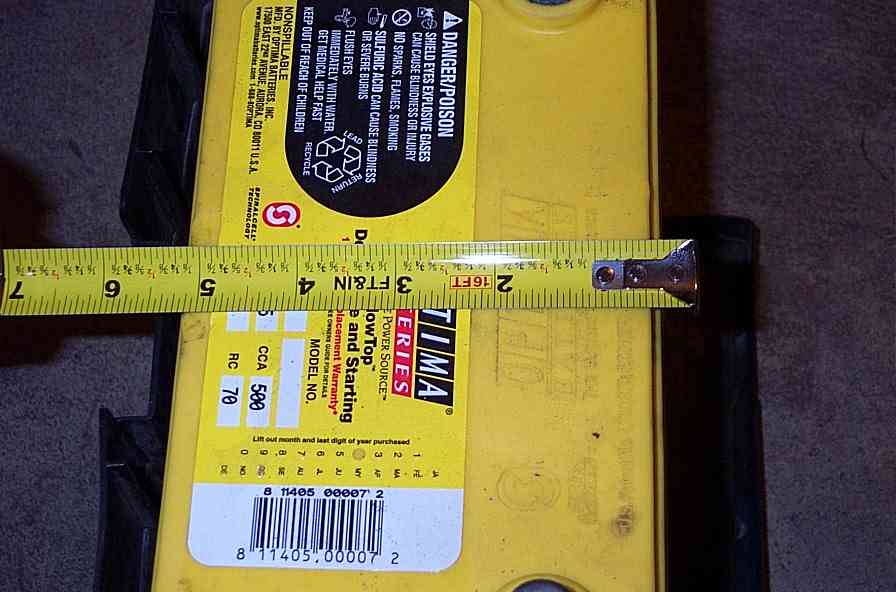
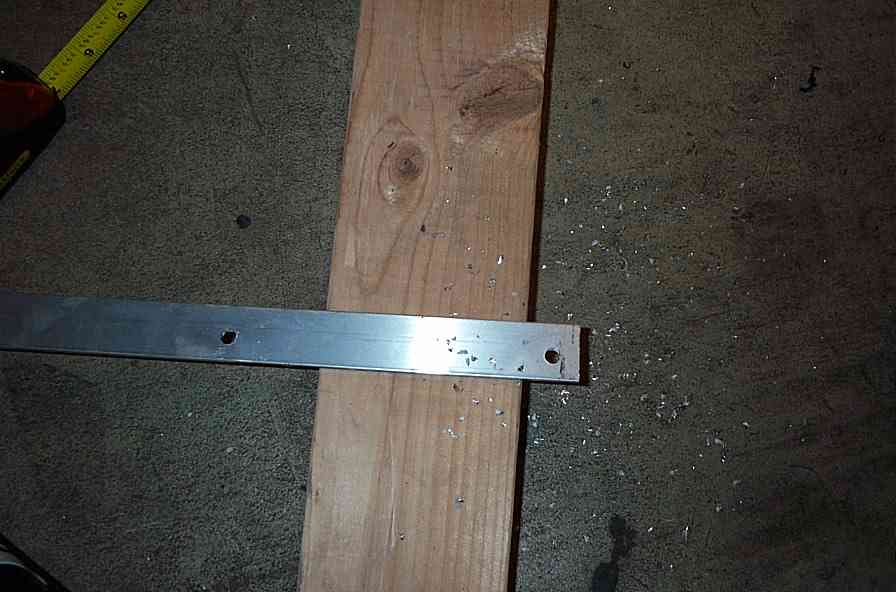
Step7: Measure how far apart you want your tie-down rods to be spaced. Make sure it clears both sides. I spaced mine at 5.5" apart. Take your flat steel bar and mark the distance. Leave 1/2" from the hole to the end of the rod.
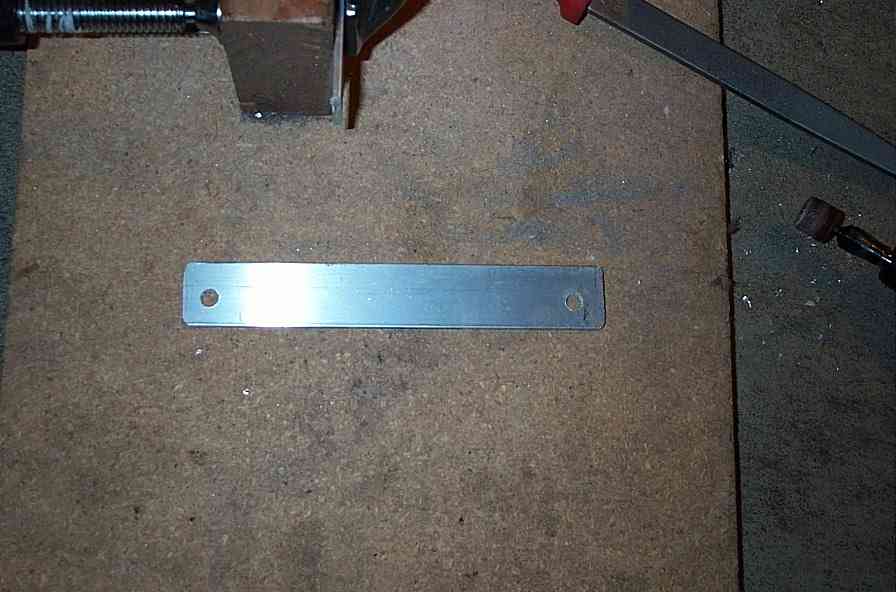
Step8: Drill the holes. Once both holes are drilled, use the dremel to cut off the excess rod. Use a grinder to smoothen the edges.
Step9: Get your threaded tie-down rod, place a washer on the rod and slide it down to the base of the cap. Measure the height of the battery, then measure the height of the rod from the washer to the other end. Leave about 3/4" to 1" and cutoff the excess.
Step10: Slide the tie-down rod up from underneath the tray, and re-install the tray back into the engine bay. Place the tray liner back in place. Place the new battery in the tray and secure it with the new tie-down.

Step11: Try shaking the battery to make sure it's securely tied down.
=Finished Pic=
