Maintenance: Brake pad replacement
Tools needed: Ratchet & socket set, C-clamp or brake piston reset tool
Parts needed: New pads & shims if using aftermarket pads, anti-squeal liquid (optional)
Front Brake Pads:
Step1: Jack the car up on jack stands and remove the wheels.
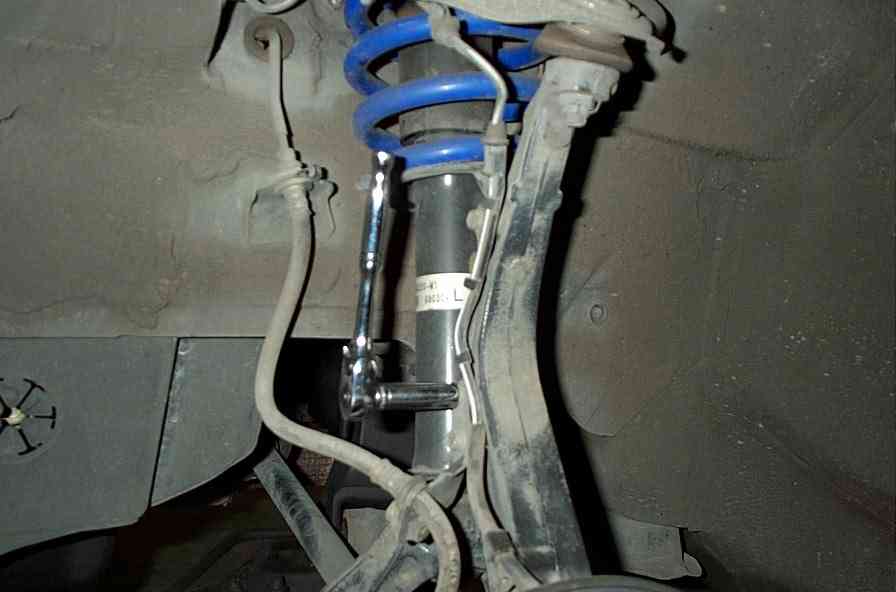
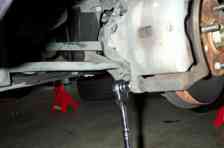
Step2: Unbolt the (2) 10mm bolts holding the brake line bracket
on the spindle arm. This allows slack when the caliper needs to be swung open.
*Note: Have a large pan or several newspaper spread under the work area to catch
the cleaning chemicals that will be used on the calipers.
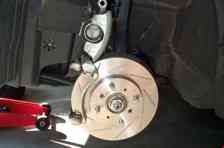
Step3: Unbolt the bottom 17mm caliper bolt, and swing the caliper
up off the pads. After the pads and pad retainers are removed, clean the calipers
thoroughly using brake cleaner.
*Tip: Since the pad retainers are re-used, clean them as well. If you're re-using
the shims, clean those too.
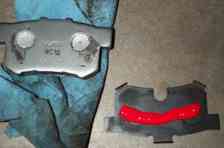
Step4a: (If using OEM pads). Honda recommends using Molykote
M77 grease in between the pads and shims to prevent squeal. You can also use any
anti-squeal grease found at your local auto parts store. Re-install the pad retainers
followed by the new pads (shims should be included with the new OEM pads). I used
Disc brake quiet
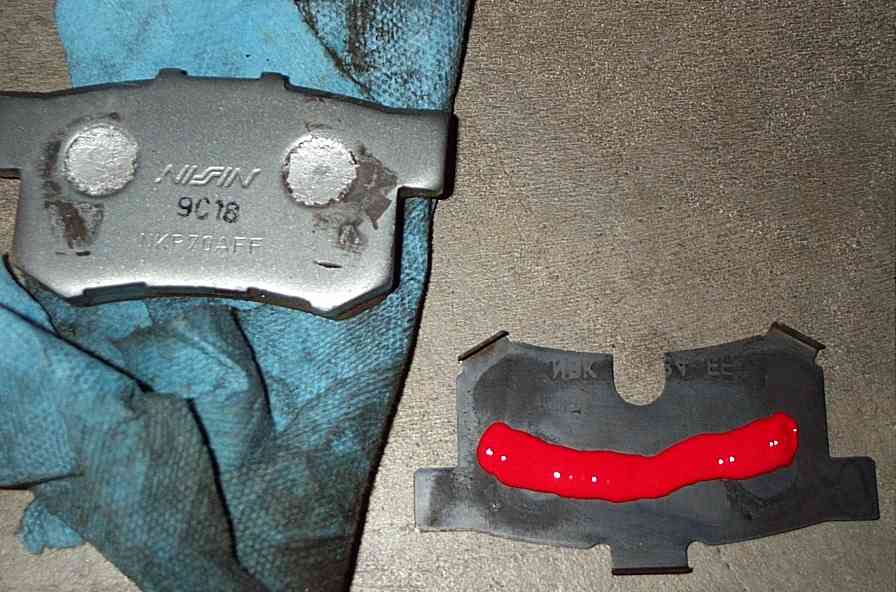
Step4b: (If using aftermarket pads), Remove the shims from the
old pads, clean them with brake cleaner, and transfer them to the new pad. Same
as step 4a, grease in between the pads and shims.
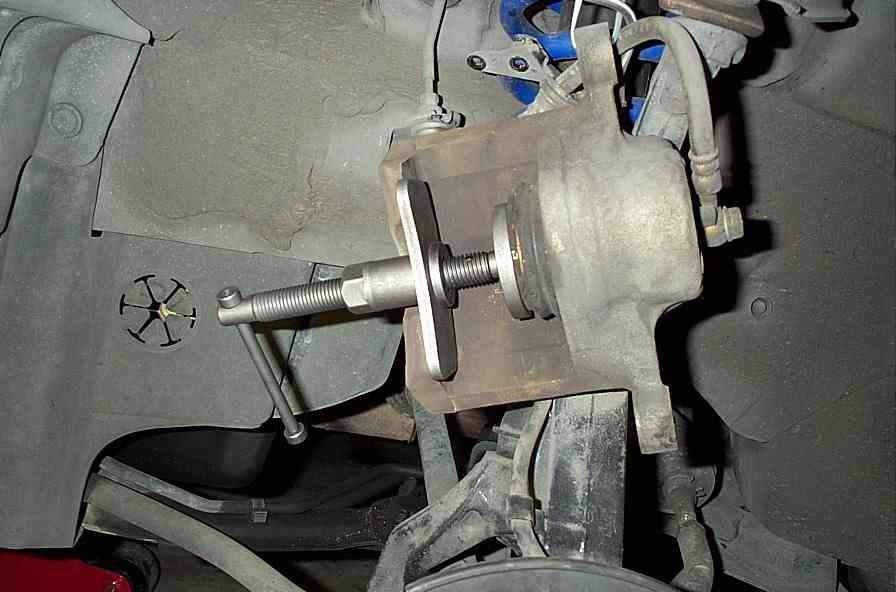
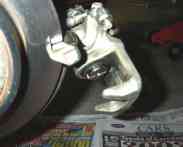
Step5: Before reinstalling the brake calipers, the brake piston
will need to be pressed back in. If you have a brake piston reset tool, you can
use that. If not, you can use a c-clamp to press the piston back in.
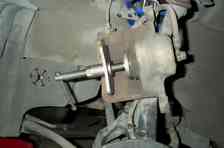
*Note: The caliper was completely removed for better picture purpose only.
Step6: Grease the shaft of the caliper pin. Re-install the caliper
and tighten the pin bolt to 54 ft. lbs.
Step7: Re-install the brake hose bracket.
Step8: Once everything is installed, pump the brakes once or
twice to press the piston against the pads.
Rear pads:
Step1: Same as the front except both caliper bolts will need
to be removed. Follow the steps for removal (including the brake hose bracket)
and cleaning.
Step2: Here's the difference. The caliper pistons CANNOT be pressed back in. They must be twisted back in turning clockwise.
Step3: Before reinstalling the calipers, make sure the piston slot is sitting vertical to the caliper. The backside of the brake pad will
have a notch at the top. The notch should pass through the slot of the piston as the caliper is being slid into place.
Step4: The torque settings are different for the rear. Top bolt: 16 ft. lbs., Bottom bolt: 18 ft. lbs.
>>> Home