Upgrade: Front urethane swaybar bushing
*This upgrade is meant for aftermarket
front swaybars since most swaybar kits only come with rear urethane bushings
and re-use the factory front ones. Almost all aftermarket swaybars as well as
the TL-S front sway bar runs 27mm in diameter. The urethane bushings allow the
upgraded swaybars to perform their job better. Although the kit comes with new
brackets, you won't be using them due to the shape of the mounting location.
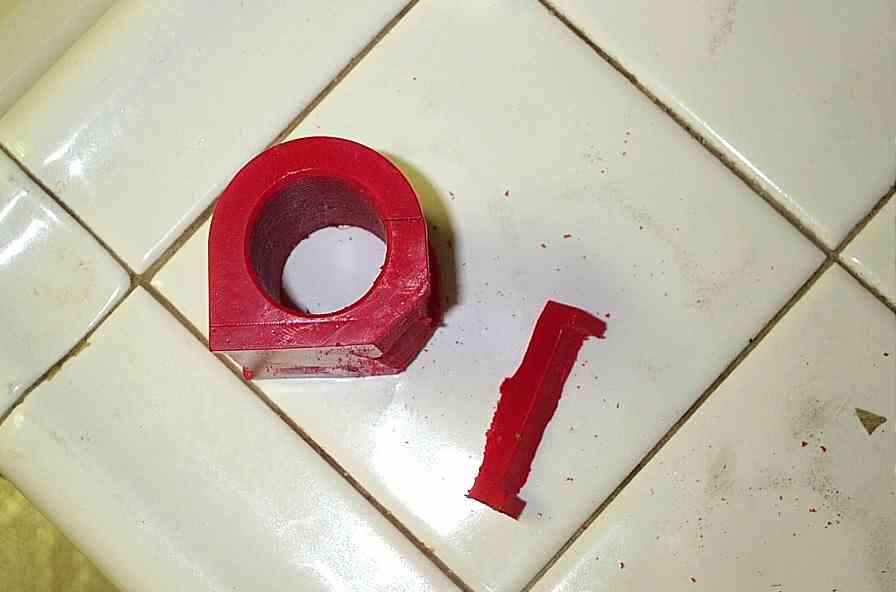
The new urethane bushings will need to be cut on one of the edges to allow better
fitment.
Tools needed: Ratchet & socket set. Hacksaw
Parts needed: Prothane part #85-97830, or Energy suspension swaybar bushings
for a 1 1/16" bar.
Step1: You can drive up a ramp,
or jack the front of the vehicle up on jack stands. Make sure you choke the
rear wheels. I can never express enough the importance of safety especially
when you're working on a mass of steel that weighs over 3000 lbs!!!
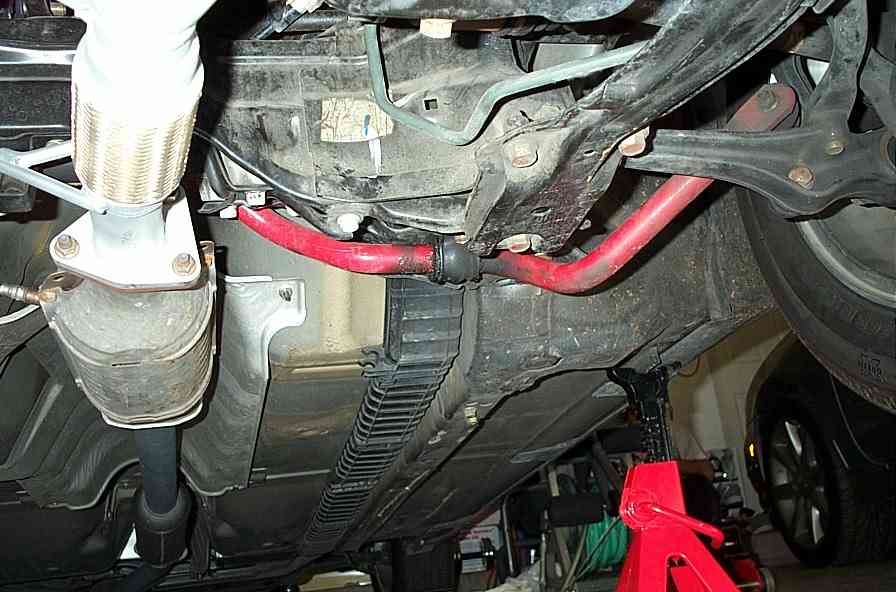
Step2: Unbolt both swaybar brackets. As you're removing the
last bolt, make sure you hold the swaybar with one hand or else it'll swing
down and scare the sh*t out of you when it bangs against the downpipe. Uhh..
no.. it didn't happen to me.
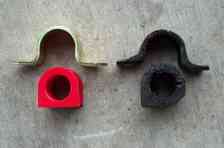
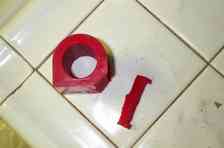
Step3: Lay the factory rubber bushing next to the new urethane
one and compare them. You'll notice that the factory one is curved on one edge.
You'll have to cut a portion of the urethane one to match the factory one using
a hacksaw.
Step4: I tossed the silicone grease that came with the bushing.
I found teflon tape to work just as good, if not better, and lasts much longer.
Follow the directions in the 'Swaybar
bushing lube' guide.
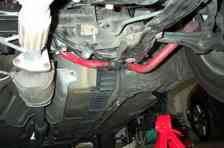
Step5: Re-install the bushing in reverse order. The bracket
bolts should only be torqued to 16-18 ft. lbs. Don't over tighten.
>>> Home