Maintenance: Distributor cap & rotor
This is a relatively simple DIY maintenance item you can
save some money on doing it yourself. The parts are inexpensive, and it doesn't
take much time. It's recommended that you replace these parts every 30k miles.
If you run your vehicle hard, you might consider ever 15k miles.
Tools needed: Ratchet set.
Parts needed: Distributor cap, rubber gasket (should be
included with cap), distributor rotor.
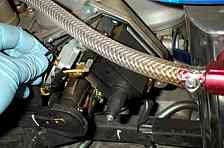
*Although it's not necessary, removing
the intake will make the job a lot easier. It could also be a great time to
clean the filter.
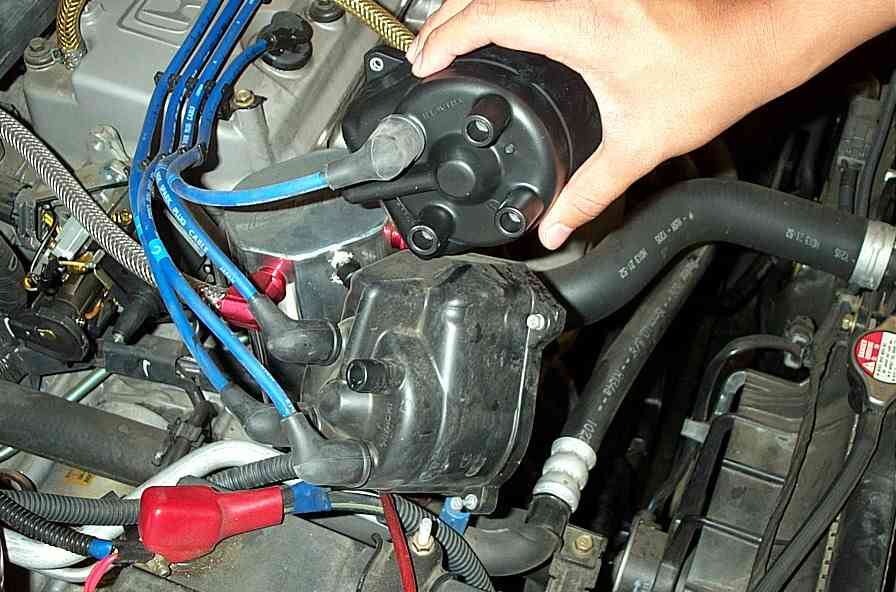
Step1: There's 3 thin, but long screws holding the distributor
cap in place. Unscrew them. You can use a ratchet or a screwdriver. I went with
the ratchet so I don't strip the head.
*Leave the plug wires attached

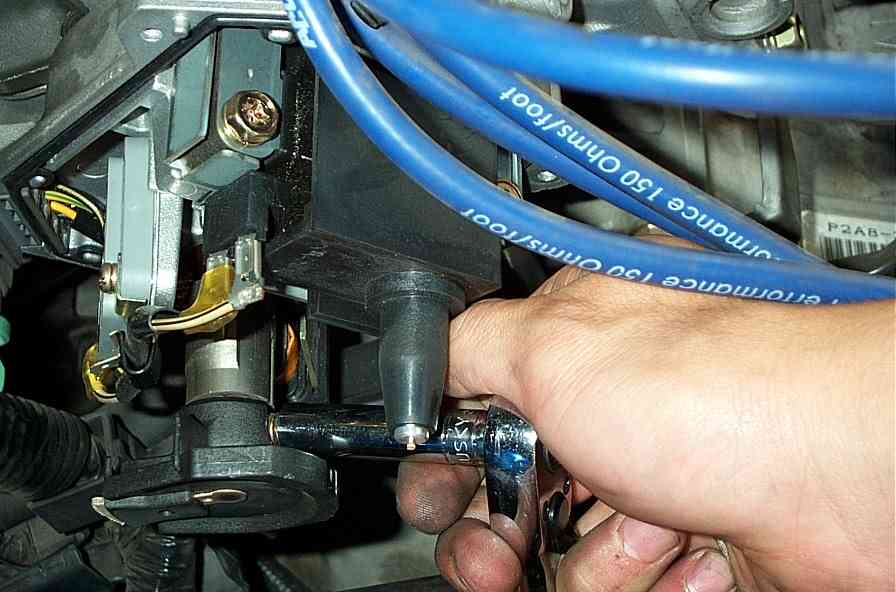
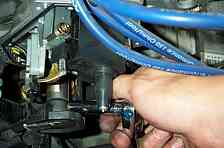
Step2: Unscrew the one bolt holding the rotor in place.
Step3: Slide the rotor out and replace with the new one. Secure
the bolt, but don't over tighten. Hold the head of the ratchet to tighten the
bolt, not the end of the handle.
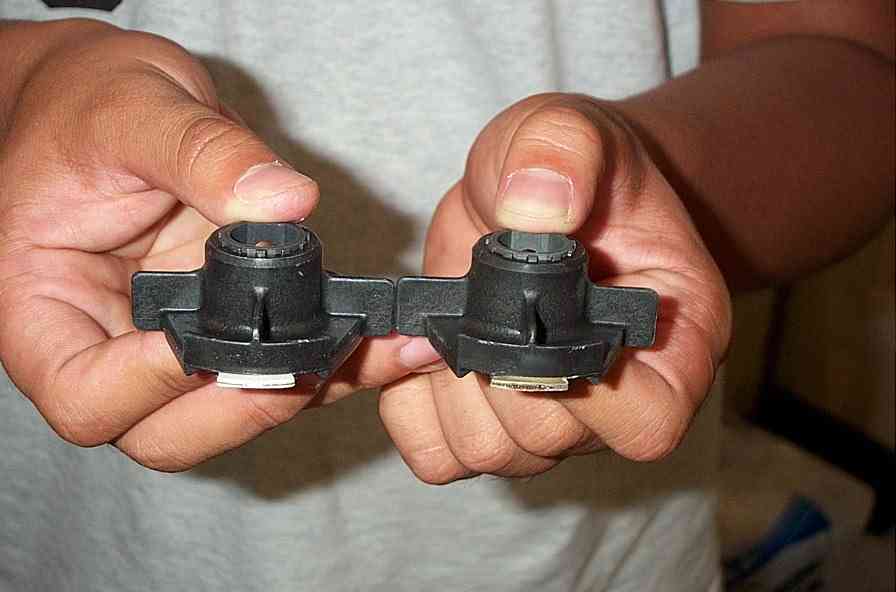
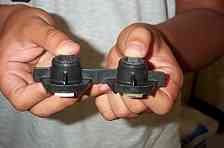
*Comparison of the rotor ends (new/old)
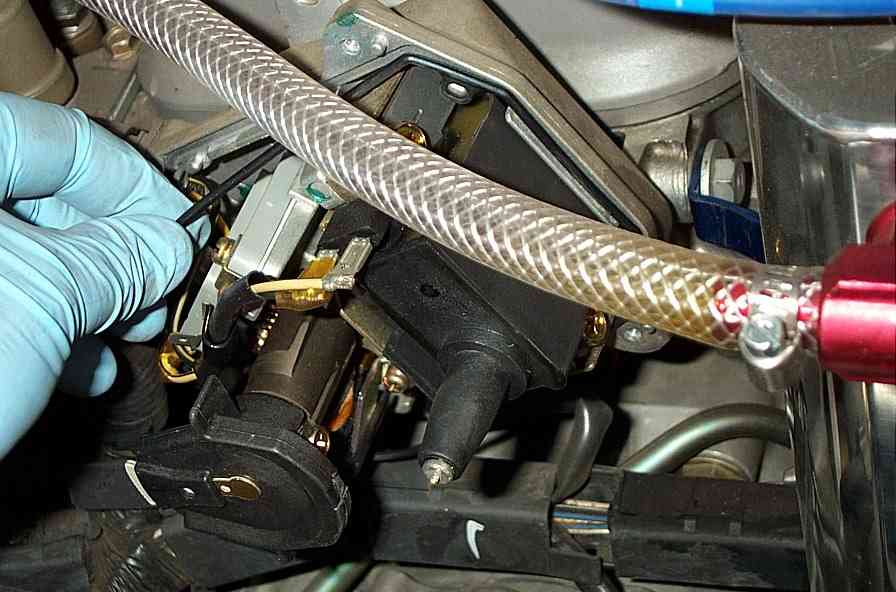
Step4: Remove the old rubber gasket and install the new gasket
onto the distributor itself, not the cap. There will be tabs to hold the gasket
in place, so it should be a no-brainer. Just match them up.
Step5: Install the new distributor cap. Tighten the screws
then go back around one more time to make sure all the screws are tightnened.
Once again, do not over tighten, if you use a ratchet, grab only the head
portion, not the handle.
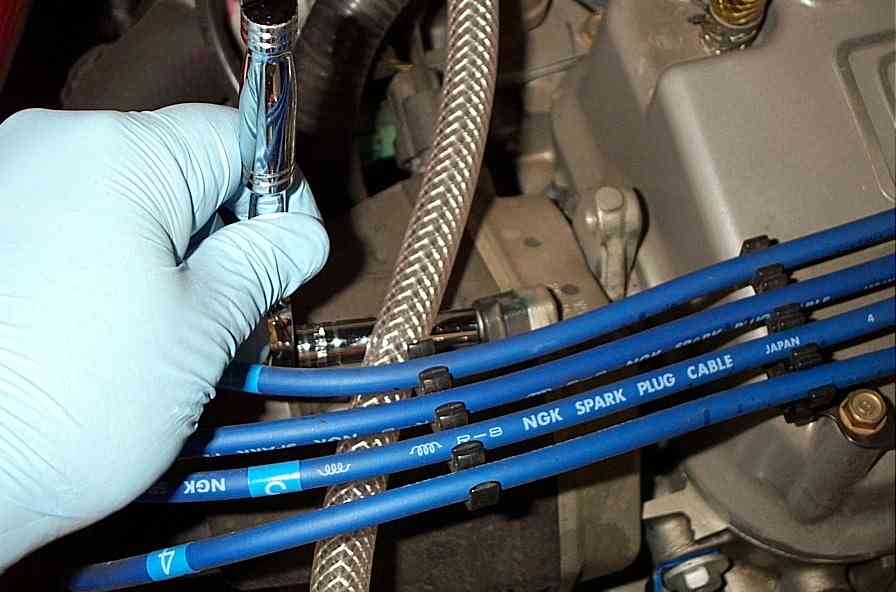
Step6: Here's why I had you leave the wires on the distributor
cap. Unless you know which wire plugs where, this will save you from a panic.
Transfer one wire at a time to the new distributor cap.

>>> Home