Project: Short ram heatshield
*I wanted to mix the benefits of a cold air intake with the benefits
of a short ram. Cold air + quicker throttle response and top end punch
= a nice smile on your face. Plus you don't have to worry about the hydro-lock
normally associated with cold air intakes.
Tools/Parts needed: Thin cardboard box i.e. cereal box or something
similar, roll of sheet metal that can be found at home depot, tin shears,
marker, weather stripping, winshield sunshade or thermal sheets from Cool-Tec,
duct tape, 3M spray adhesive.
Step1: Remove your intake.
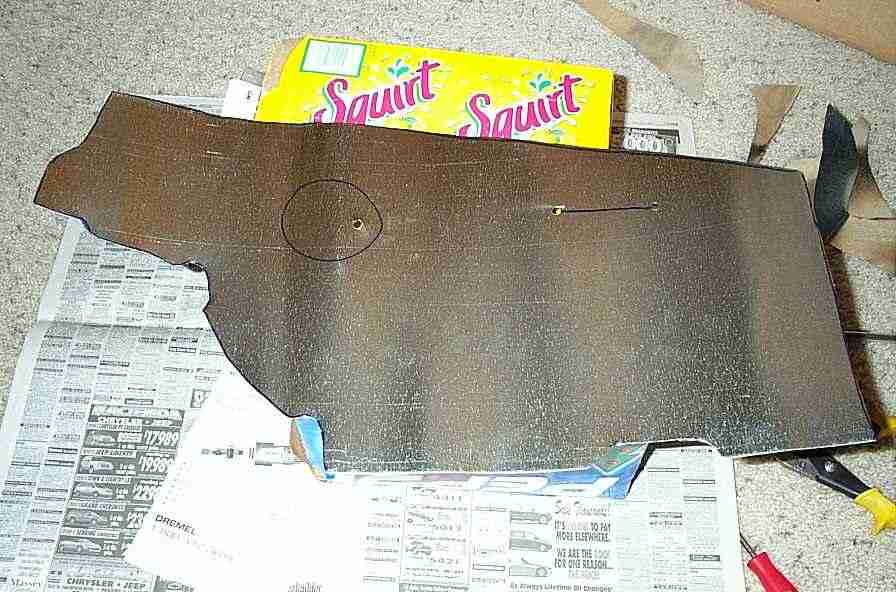
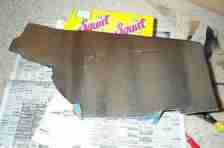
Step2: Using the cardboard, try to get the basic shape
of the heatshield. Keep in mind the angle in which the intake tube comes
in. Although the picture shows the cardboard stopping halfway at the battery,
design the heatshield so it goes all the way to the front radiator support.
You'll be using the battery tie down as a main support for the heatshield.

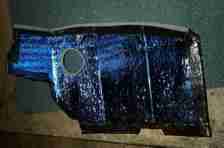
Step3: Once you have the basic design down, draw and
cut a hole for the intake tube and the slot for the battery tie down.
The only picture I can find is of the one I did on the sheet metal, so
do this step on the cardboard first.
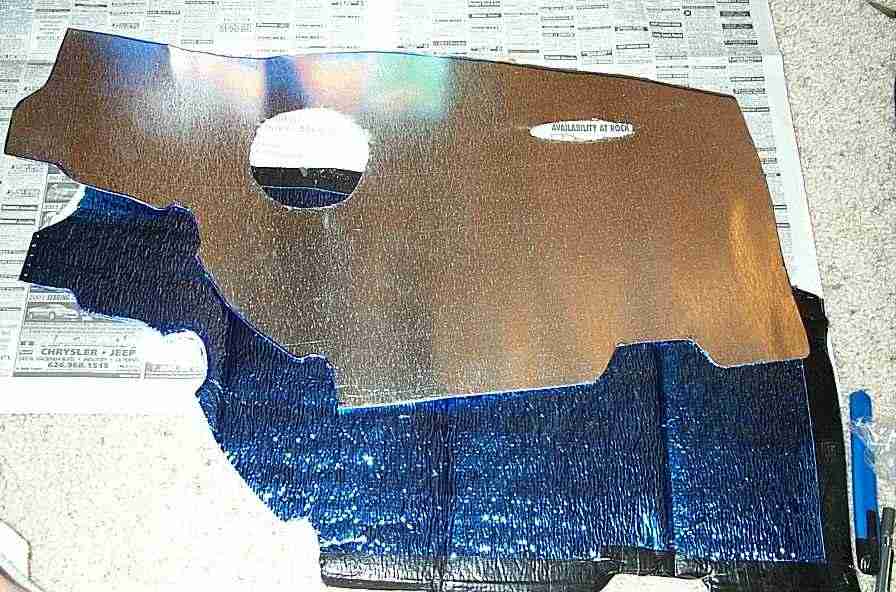
Step4: Using the cardboard as a stencile, draw the
design on the sheet metal along with lines for the bend areas. Once everything
is drawn out, cut the sheet metal into shape using the tin shears. At
this point you can also cut out the shape of the winshield shade. Make
sure to cut pieces for both the inside and the outside of the heatshield.
**Tip: to bend the sheet metal, i used plywood on top of the sheet and
pressed it against the corner of a wall.

Step5: Once you have the sheet metal all done, put
it in the engine bay as you would be installing it. At this point, use
a marker to draw the the shape of the hood line so it will clear when
the hood is closed. Remove and cut the shape. Replace the shaped shield
and test to see if the hood closes and that the hood isn't crooked or
higher than the other side.
Step6: When everything is satisfactory, cut another
1 cm off the top of the shield so when the weatherstripping is installed,
it will seal the hood line.
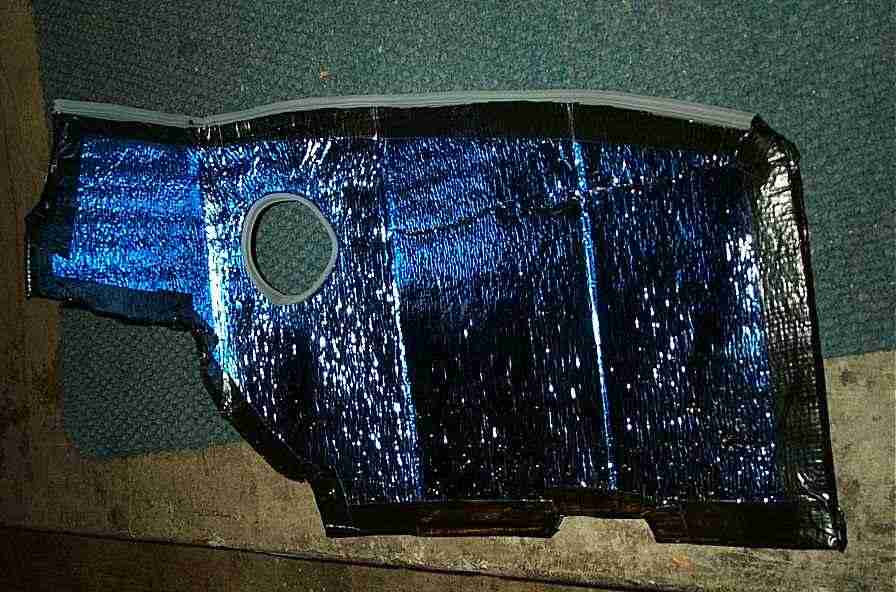
Step7: Using 3M spray adhesive, spray the sheet metal
and the winshield shade. Wait for a minute before bonding them together
to allow the adhesive to get tacky. Repeat for the other side.
Step8: Use a colored duct tape of your choice to seal
off the edges so that metal is not exposed. For the top of the
heatshield, I used rubber weather stripping from JC Whitney.
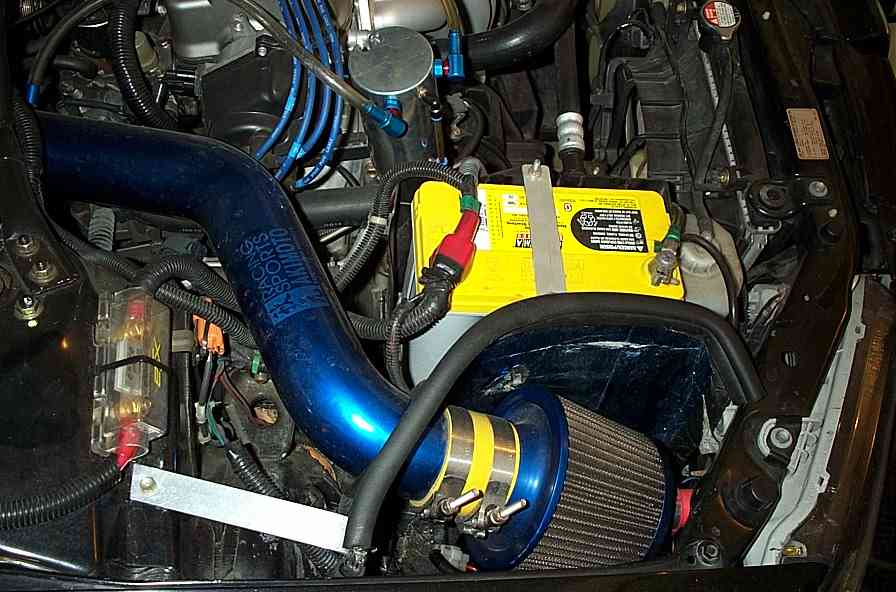
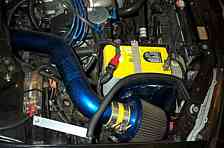
Step9: Install the heatshield, intake, and the weather
stripping to the top of edge of your new heatshield.
*Update: I made a little support bracket for the heatshield out
of a flat aluminum rod found at Home Depot. It keeps the heatshield
from flexing or unwanted movement.
>>> Home