HID Projector Retrofit DYI Instructions (Page 3)
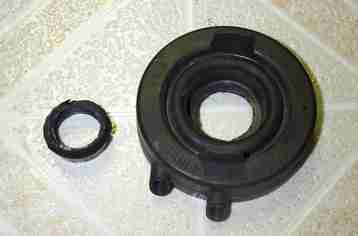
Step 12: Now to seal up that big gaping hole between the projector and headlight casing. I tried re-using the factory rubber ring, but found it to be too loose so I used the civic rubber seal off a '96-'98 civic. You'll need to trim the first section of the rubber ring (the portion that protrudes out).
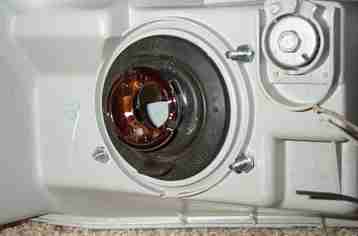
Step 13: Pull the rubber seal around the projector so that it sits on the narrowest part of the projector. For the hole, instead of installing the outer portion on the plastic like the stock one, stuff 3/4 of the rubber inside the hole as shown in the pic. Put some silicone around the outer portion of the rubber & the projector side to seal it off.
Step 14: You're pretty much done. Put the headlight back together. Now for adjustability to aim your new HID beams. Mix a small batch of JB Weld. Apply a small amount on the thread (about 1/8" of the thread). Screw on a wing nut only on the top portion. Then JB weld the bottom and top of the wing nut to the screw. Allow it to harden according to time specified. (Don't apply any silicone for a few months. You'll be adjusting them slightly each time. Everyone has their preference so re-aim until you're totally satisfied, then you can apply some silicone if you wish). One of my sides does not have any silicone at all and there has not been any condensation, so it's probably not necessary, but the silicone could act more as a glue to hold the screw in the set position.
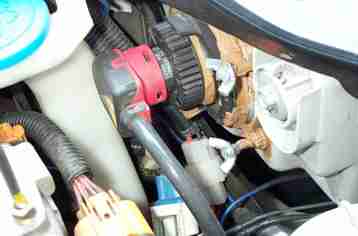
Step 15: Aiming - To aim, turn the two wingnuts at the same time to adjust left/right, and turn just the top wingnut to adjust vertically (up/down)