Installation: AEM TRU-Power Pulleys
*This is one of those mods that most people wonder whether
or not it provides any gains. The theory is sound so on a dyno, you'll see some
number improvements, but don't expect to feel the gains. The way I see it is that
everything adds together. Spark plugs, wires, pulleys, intake, etc. yield minor
improvements, but you put them all together and you have a decently big gain.
The main question is whether or not you feel the price is worth the gain.
**The concept of the underdrive pulleys is to use larger pulleys in order to turn
the accessory easier, but the downside is that it also turns it slower. So for
the alternator, power is generating slower than normal. For normal operations,
the reduction is nothing to worry about, but for those with large sound systems
needing a constant supply, I would recommend against upgrading your pulleys. For
systems under 500 watts, you should be ok.
Tools
needed: Ratchet set (sockets 10, 12, 14, 19, 22mm), impact gun, 1/2" head
breaker bar, open ended wrench set.
Step1: I recommend that you disconnect the negative terminal of the battery.
Step2: First, get a feel for the tension on the belts. This will help you later. Push the slack area of the belts
between the pulleys, you should have about 1/2" of play. The new belts will need to be slightly tighter since they loosen slightly after
usage and time.
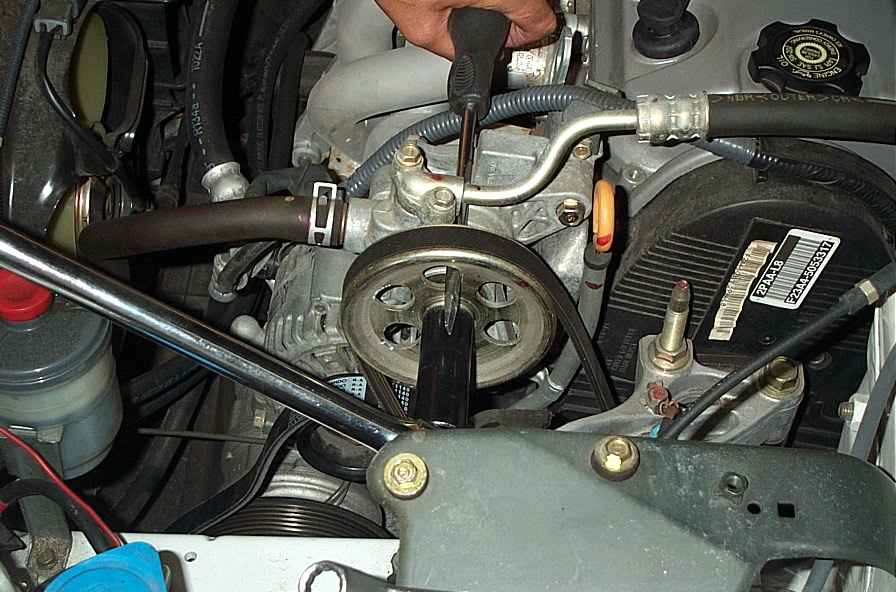
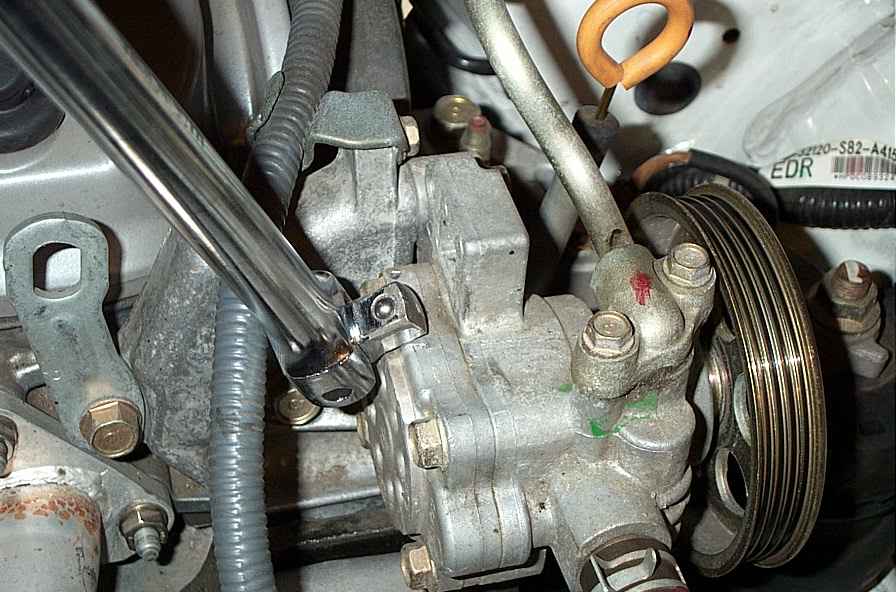
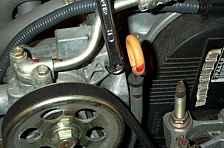
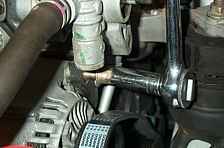
Step3: Loosen the nut holding the power steering pulley in place (19 mm). The belt will hold the pulley from moving while you
loosen it with a breaker bar, but you can use a large screwdriver as shown to help anchor the pulley from turning. Just loosen the bolt,
don't remove it yet!

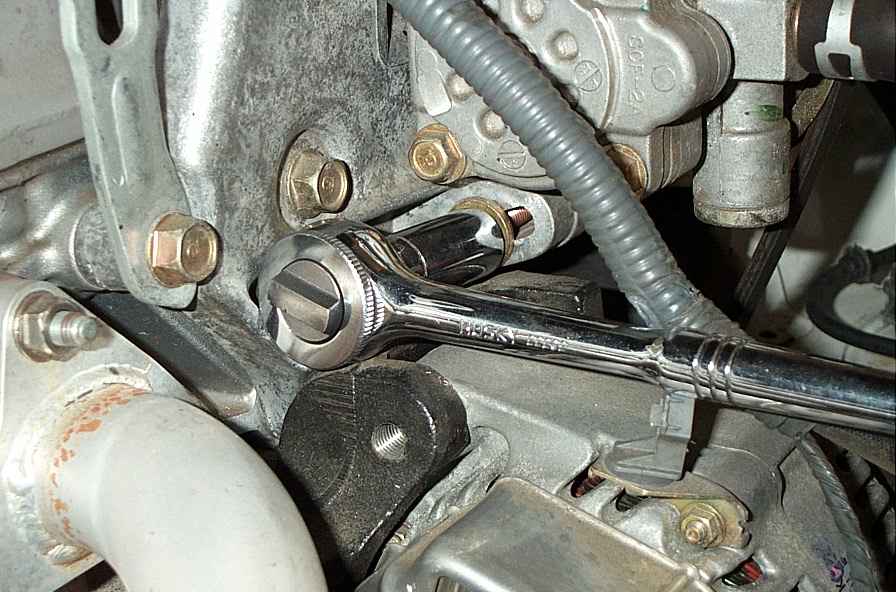
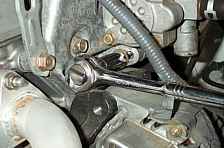
Step4: There's 2 (12 mm) bolts holding the power steering pump in place. You don't need to remove them, but you'll need to loosen
them to relieve the tension on the belt. The first bolt is located right next to the oil dipstick. The second is located on the back of
the pumpTo relieve tension on the power steering belt, loosen the bolt on the back of the ps pump.
Step5: Once the bolts are loosened, you can pivot the pump downward a little to remove the belt. Once the belt is removed,
unscrew the nut securing the pulley and remove. Don't install the new pulley and belt yet or else you'll block the access to the
alternator belt and pulley.
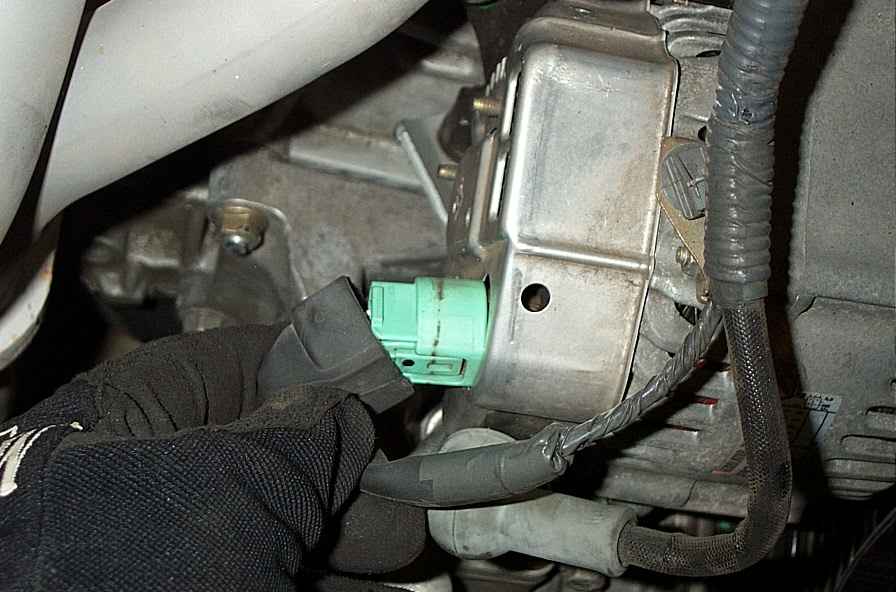
Step6: (The helm's manual doesn't use the method I'm about to describe, but I've found it easier this way). Remove the
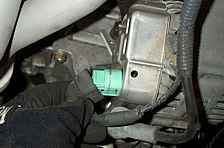
alternator. First disconnect the harness and the power wire. Both of them are covered by protective rubber boot. The harness is a simple
squeeze and disconnect. The power wire ring is held on with a 10mm nut.
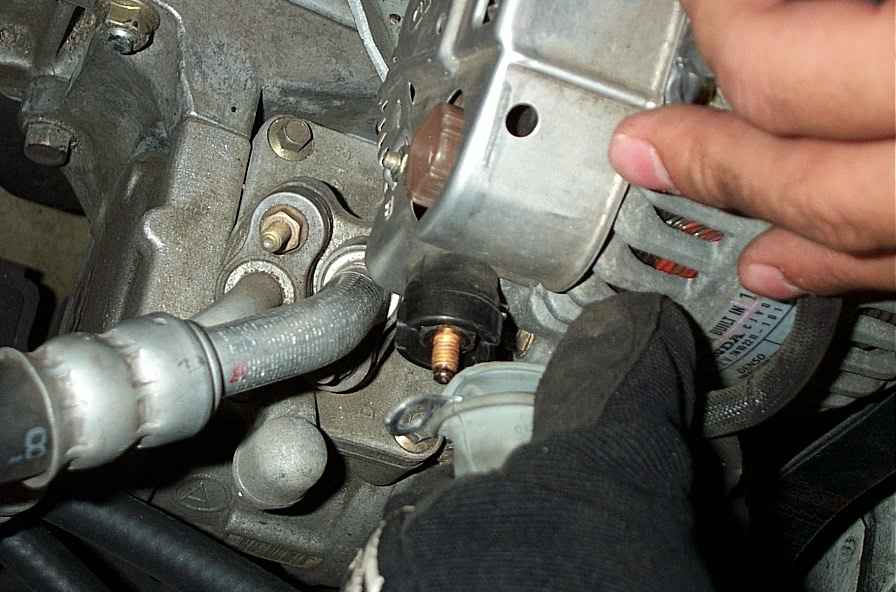
Step7: You'll need to remove 3 bolts total in order to remove the alternator. 2 actually hold the altnerator in place,
and the 3rd is a tensioner.
Loosen the top bolt first (14 mm). (Do not remove, just loosen)
Loosen the nut underneath it 2nd (12 mm). (same as above).
Unscrew the tensioner bolt and remove (10 mm).
Unscrew the top bolt and remove.
In order to remove the bottom bolt, you'll most likely need to remove the alternator from it's place and angle it.
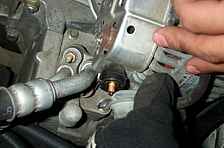
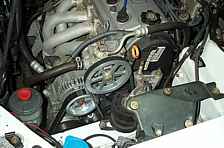
=Top Bolt=
=Tensioner Bolt=

(The location of the bottom bolt prevents me from taking a picture of it. It is the bolt that the tensioner bolt is screwing into. You
loosen the nut on the other end).
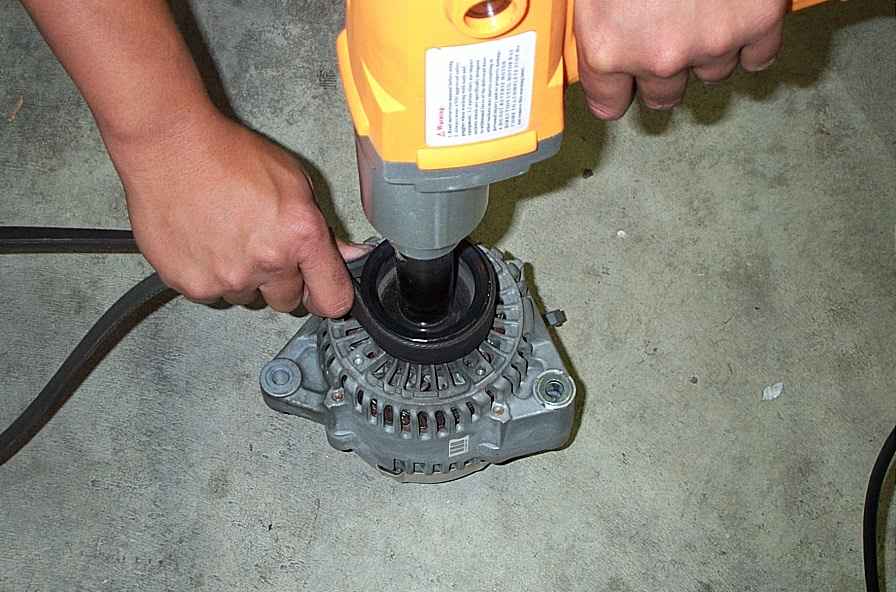
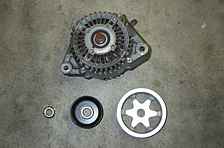
Step8: You should have the alternator out along with the belt. To remove the alternator pulley, use the old belt to hold
the pulley in place. Use an impact wrench to loosen the nut securing the pulley in place (22 mm).
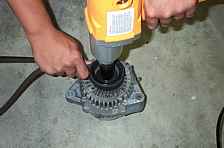
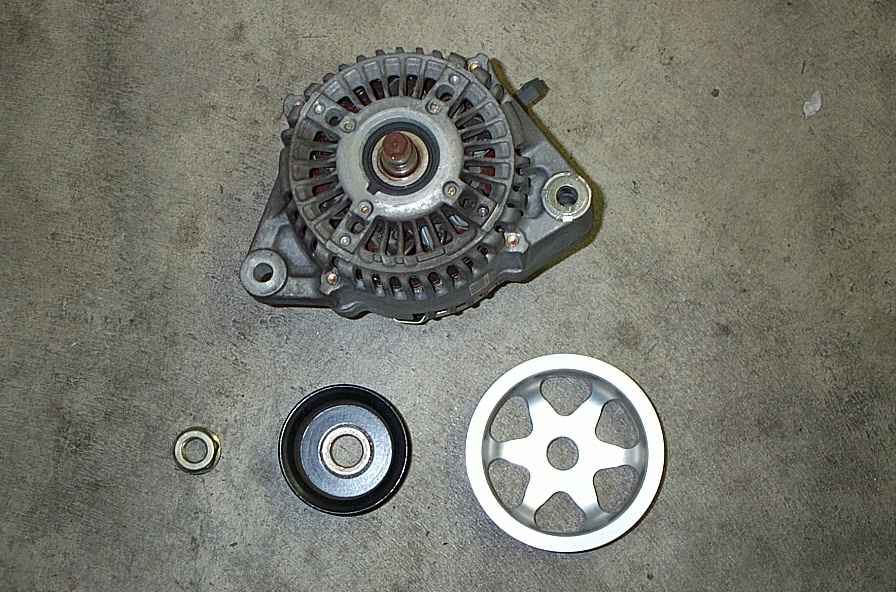
Step9: The reason why it's easier to remove the whole alternator is because once you've installed the new alternator
pulley, the nut will need to be torqued to 82 ft. lbs. which is quite difficult if you need to hold the bolt in place as well. After hand
tightening the nut for the pulley, use the impact wrench and give 2 good blasts. That will secure it in the vicinity of 85 ft. lbs.
Step10: Re-install the alternator putting the 3 bolts on loosely. Once you get the belt on, tighten the tensioner bolt
first. Most will not have a tension gauge, if you do, you can email me for specs. Otherwise, tension the belt so that there's a maximum
of 1/2" of play when you press the belt.
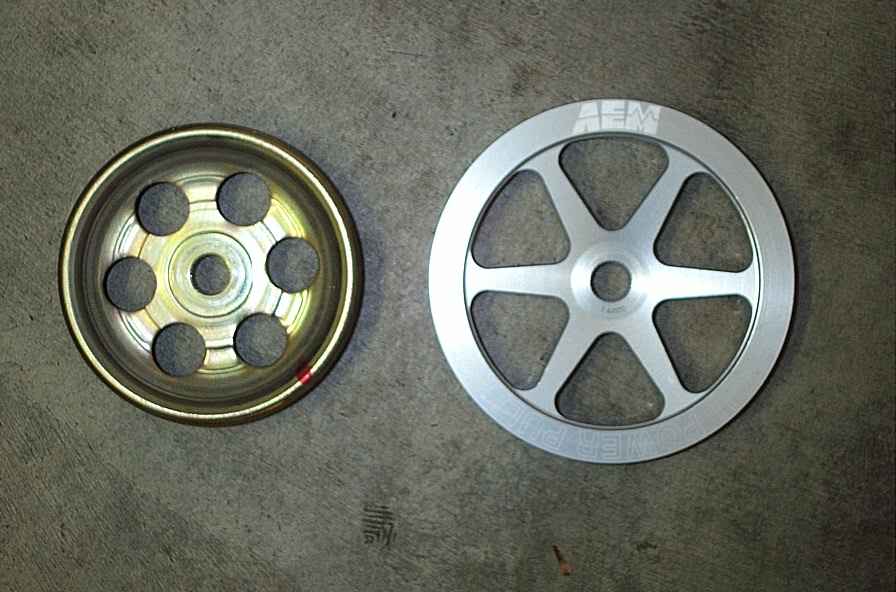
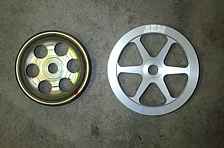
=Comparison pic, stock vs. AEM=
Step11: Once the tension is set:
Tighten the bottom nut (12 mm) to 16 ft. lbs.
Next tighten the top bolt (14 mm) to 41 ft. lbs.
Reconnect the harness and power wire making sure to securely cover them with the protective boot.
Step12: Install the power steering pulley and hand tighten the nut. Install the new belt.
Step13: Have the ratchet and 12mm socket on the bottom bolt ready to tighten (Don't tighten yet, just get it ready).
Using a 1/2" breaker bar, insert the head into the slot and use it to tension the belt. When the belt is tensioned, tighten the bottom
bolt to hold the pump at that position. Test the tension. Loosen the bolt and readjust tension as needed.

Step14: Once proper tension has been reached
Tighten the bottom bolt (12 mm) first to 16 ft. lbs.
Tighten the top bolt (12 mm) next to 16 ft. lbs.
Using the same method of the screwdriver to hold the pulley secure, torque the pulley nut (19 mm) to 42 ft. lbs.
=Finished Pic=
>>> Home