Lower control arm bushing upgrade
*The first thing you'll notice if you replace your bushing
with the delrin one is that you'll hear clunking from the front. It's my understanding
that it's normal.
**This DIY is for Delrin bushing upgrade from Bimmerworld, NOT an OEM bushing
replacement. That requires additional steps which I didn't do.
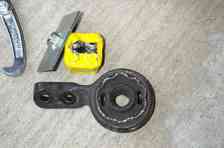
Tools/Parts needed: 2-jaw puller,
rachet set, 4 lug nuts, harness backing plate or any solid metal plate, hammer,
chisel or screwdriver
Step1: Loosen the bolts on the front wheels and jack up the front
of the vehicle on jackstands. If you still have the rubber pads at the jack points,
I recommend that you remove them. They make it more likely for the car to slip
off the jack stands. In addition, slide the wheels just behind the jackstand for
extra safety.
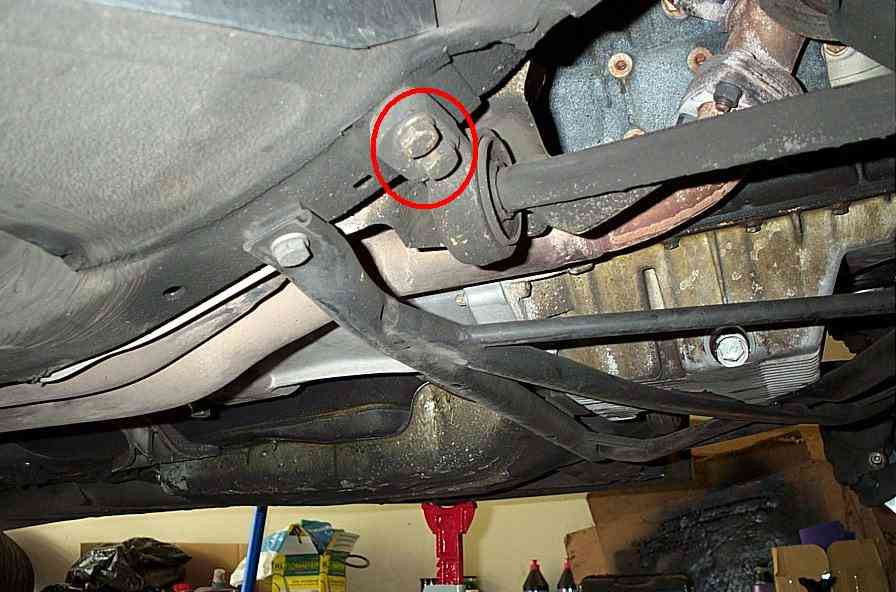
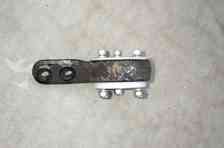
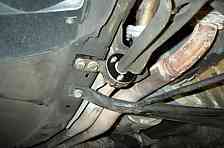
Step2: Unbolt the 2 bolts holding the bracket in place.
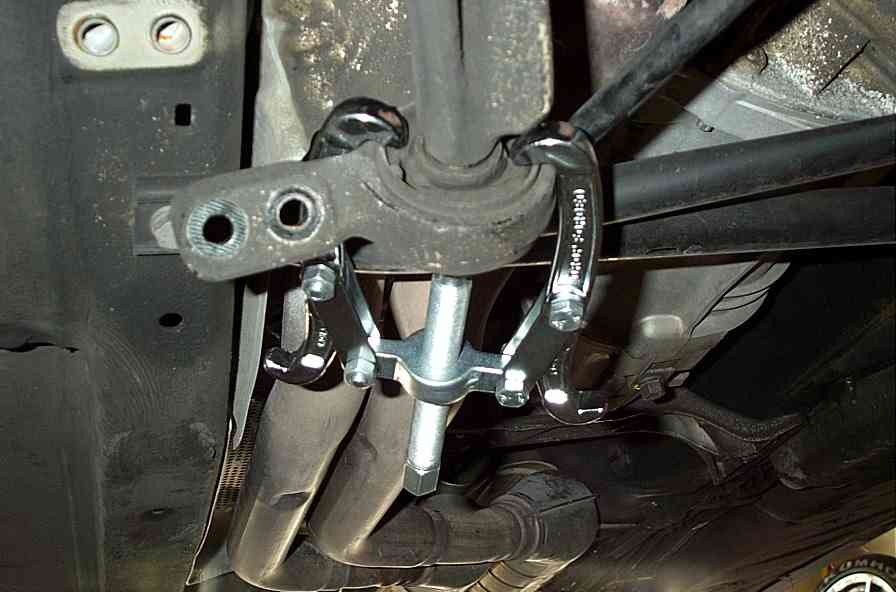
Step3: Use a 2-jaw puller to pull the bushing off the Lower Control
Arm (LCA).
Step4: If you have the proper BMW tool, then it should be easier
to press the bushing from the bracket. If you don't, you can use the method we
used. Using a flathead screwdriver or chisel and a hammer, make indentations all
around the metal portion of the bushings.
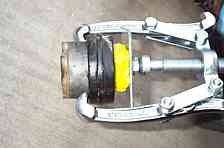
Step5: Take 4 lug nuts and tape them together. Put a thick metal
plate (harness backing plate recommended) behind the lug nut pack and using the
2-jaw puller, start pressing the bushing out.
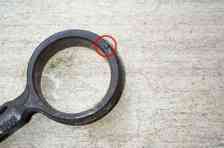
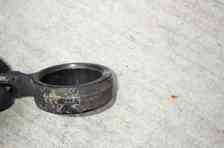
Step6: To accomodate the new delrin bushing, you'll need to file
down the tab on the bushing bracket.
Step7: It should be fairly simple on how to assemble the bushing
kit. Just make sure that the carbon fiber portion is facing toward the front of
the car. Once you've assembled it, reinstall it onto the car.
Torque specs:
Bushing bracket to car chasis: 34 ft. lbs.
Wheel bolt: 80 to 88 ft. lbs.
>>> Home