Spring & Shock installation guide
*On street and road course, the M3 handles well out of the
box. There's some understeer (probably for safety issues with the average street
driver). But, as with most other good cars, there's always room to improve.
*If you can have a 2nd set of hands help you, it'll make your work much easier.
Tools needed: Ratchet set, 1/2"
head breaker bar, impact wrench (optional), hex wrench set, torque wrench, zip ties,
spring compressor, open ended wrench set.
-FRONT-
Step1: Loosen the bolts on the wheels and jack the vehicle
up on jackstands. If you still have the rubber pads at the jack points, I recommend
that you remove them. They make it more likely for the car to slip off the jack
stands. In addition, slide the wheels under the vehicle for extra safety.
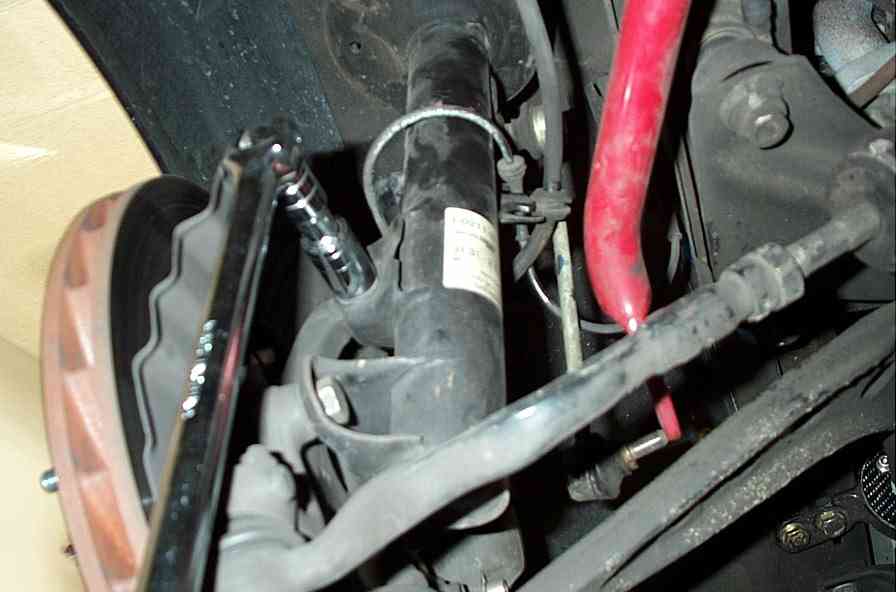
Step2: Remove all the wires/hoses connected to the strut housing.
Unbolt the swaybar endlink that's attached to the strut.
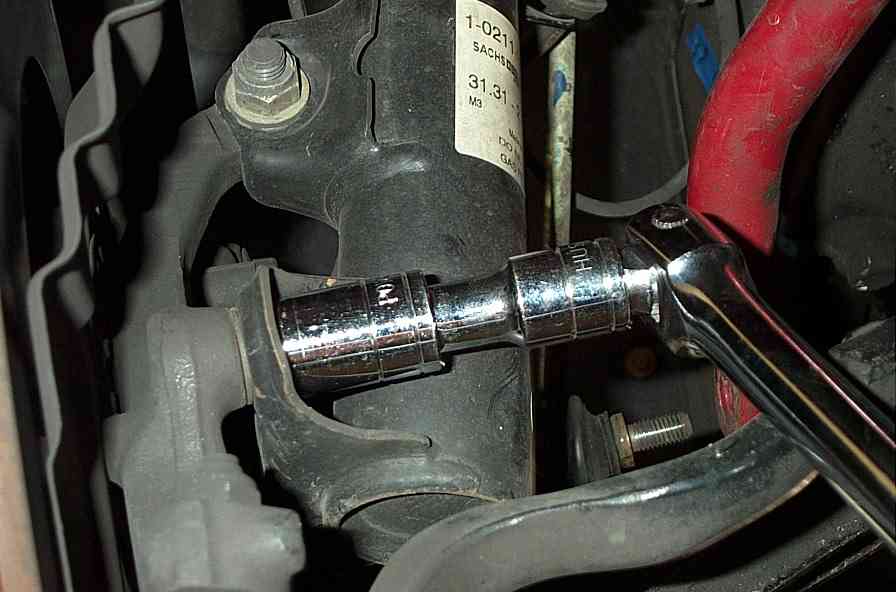
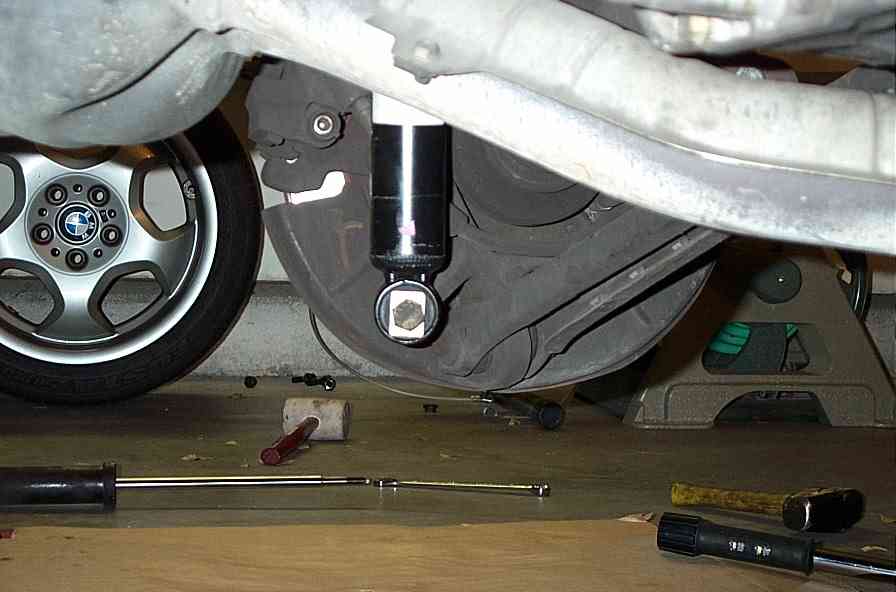
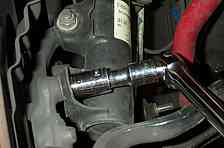
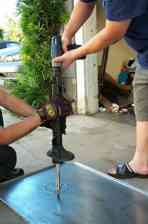
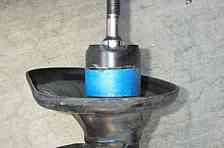
Step3: There are 3 18mm bolts holding the strut housing to the
wheel hub. Use a breaker bar to loosen all 3 bolts, but don't remove them completely
just yet. The 3rd bolt is adjacent to the one shown in the 2nd pic, but on the
other side of the shock tubing.
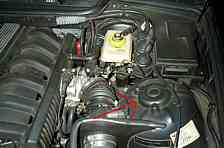
Step4: Under the hood, remove the protective plastic covering
the top mount bolts. Remove two of the bolts and loosen the last one without removing
it.
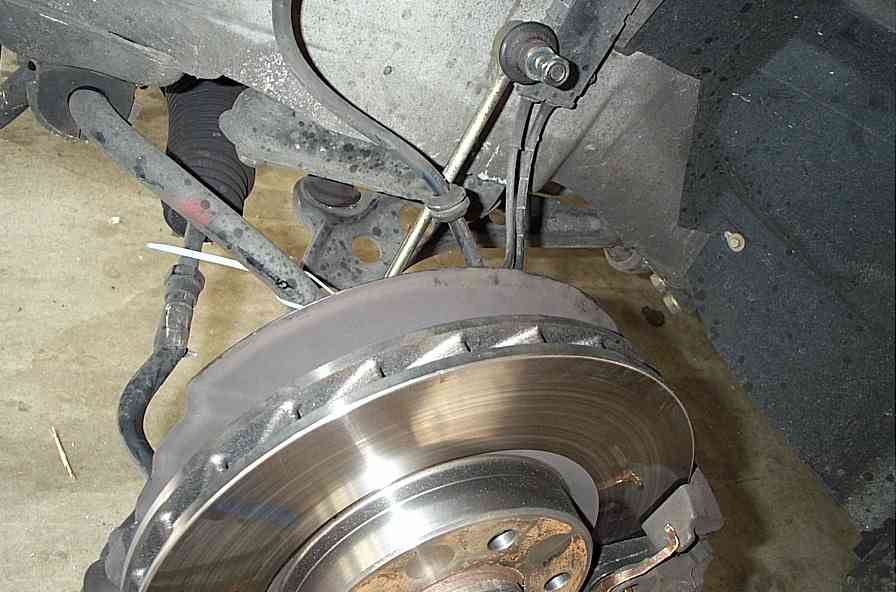
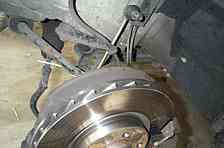
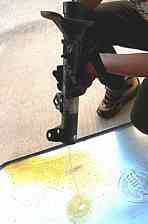
Step5: Go back to the 3 bolts attached to the hub and remove
them. Have your 2nd set of hands hold the rotor/hub. Once all the bolts are removed,
there will be nothing holding the hub. After all the bolts are removed, remove
the last top mount bolt to remove the suspension assembly. Use a large ziptie
to secure the hub. We tied it from the sway bar to hole where the upper bolt was
on the 3 that was removed.
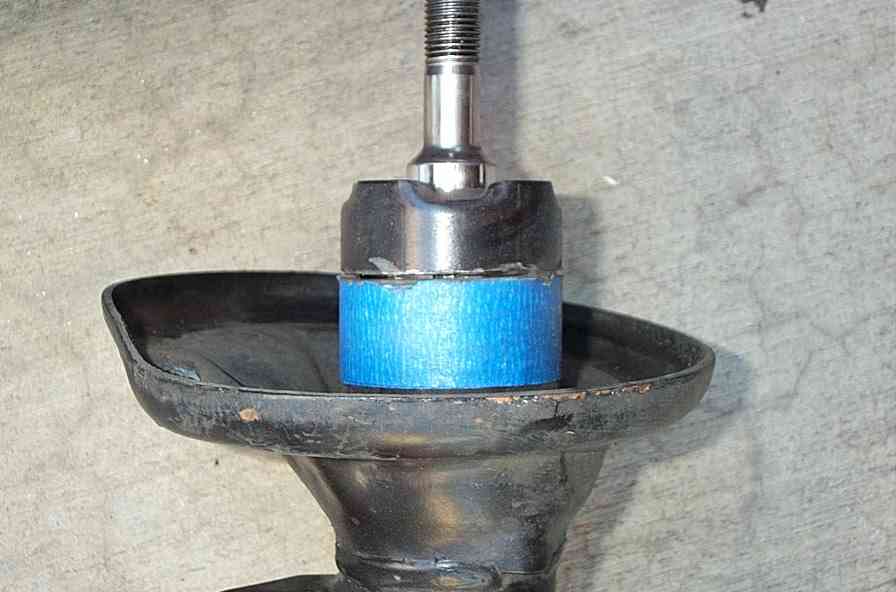
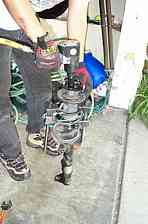
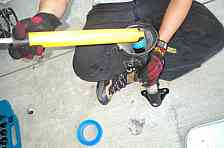
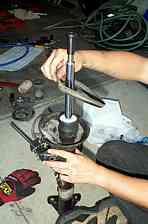
Step6: Compress the springs with a spring compressor. Since we
were't re-using the shocks, we used an impact wrench for ease. If you're re-using
the struts and are concerned about damaging the strut, you can use the bmw specialty
tool/socket, or you can use the hex key with an offset box wrench.
Step7a (Springs only): If you're only upgrading springs, put
the new springs on the shocks making sure the bottom coil is seated properly to
the bottom groove of the spring perch. Most likely you won't need to compress
the lowering springs with the spring compressor.
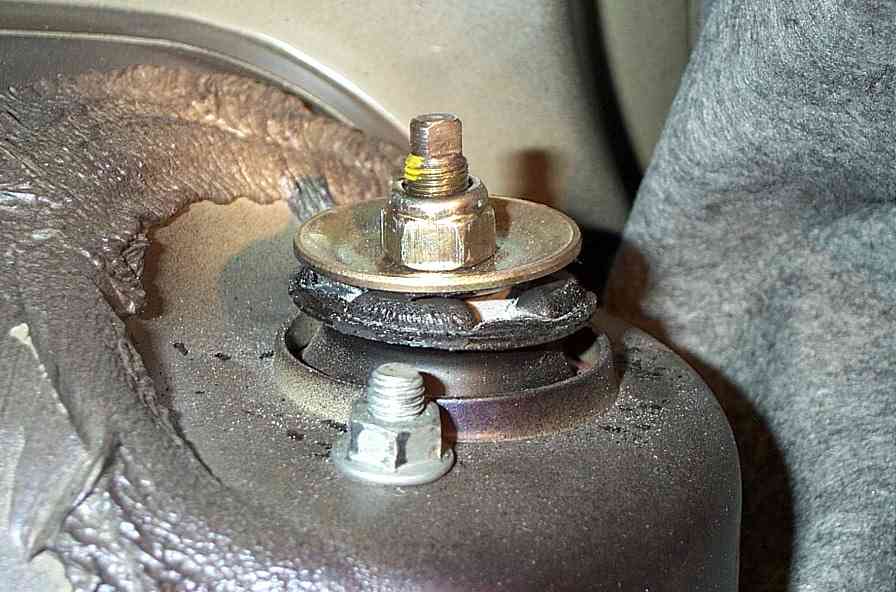
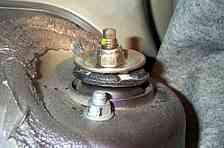
-Re-install the top mount (again, remember to match the top perch to the spring).
-Tighten the nut enough to hold the top mount in place.
-Reinstall the suspension into the car. Once the suspension is secured, you can
tighten the top nut. Tightening spec is about 40 ft. lbs. so just tighten
it as much as possible unless you have a way to torque it
properly.
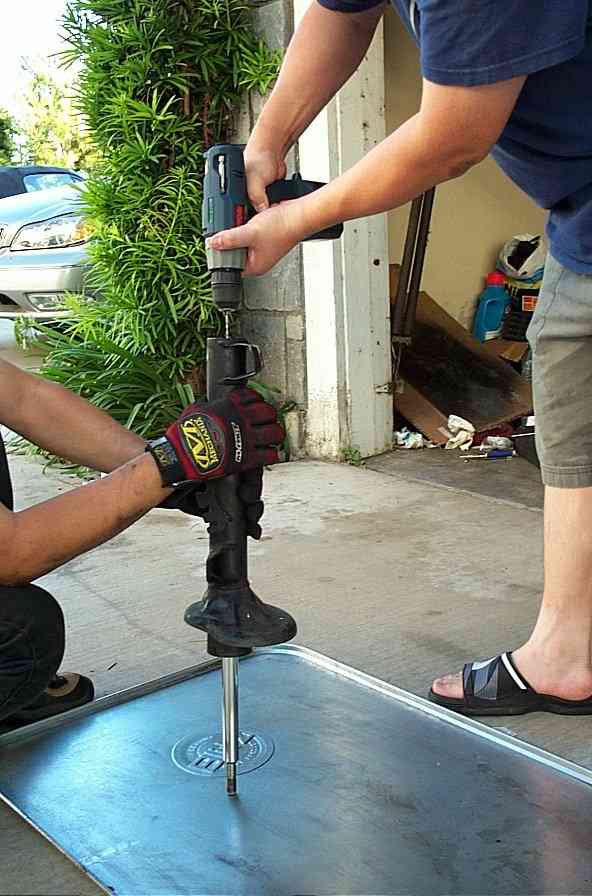
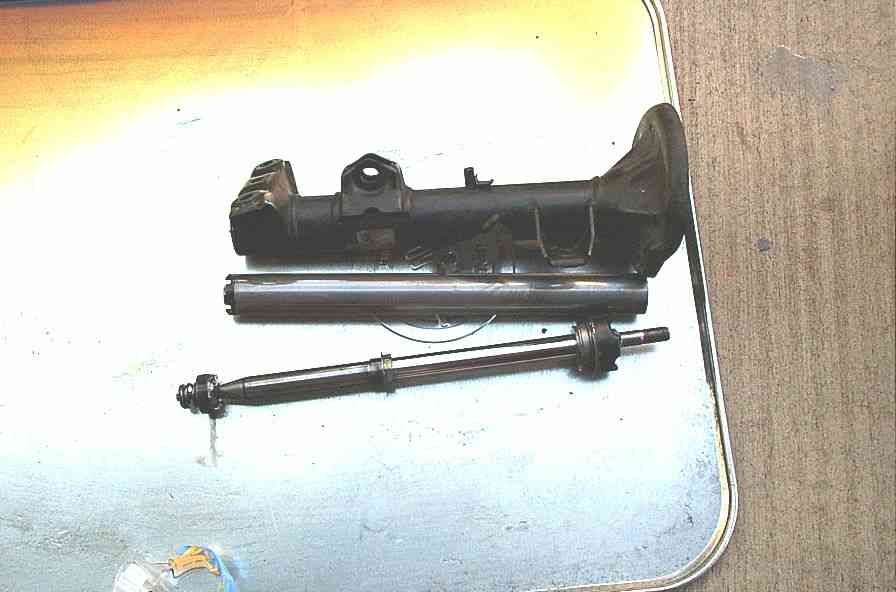
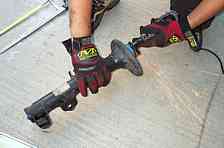
Step7b: Unless you have bilstein shocks, you're going to have
to gut the strut housing and re-use the body. Turn the strut upside down and drill
a hole in the center. Instructions should come with the shocks you purchased on
what diameter to drill the hole on the bottom of the strut. Once the hole is drilled,
flip the strut back upside to drain the strut of the fluids.
Step8: Turn the housing back upside down and enlarge the hole
to the specified diameter.
Step9: Measure off 3/4" from the top of the strut housing
and use masking tape to draw a nice line for you to cut. Using a dremel with cutoff
tool, cut off the top portion of the strut housing.
*Make sure you wear proper eye protection. Gloves are highly recommended as well.
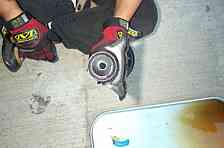
Step10: Remove the internal parts of the strut: piston, etc...

-You can use some brake cleaner to clean up the housing. Install the Koni insert
into the strut housing.
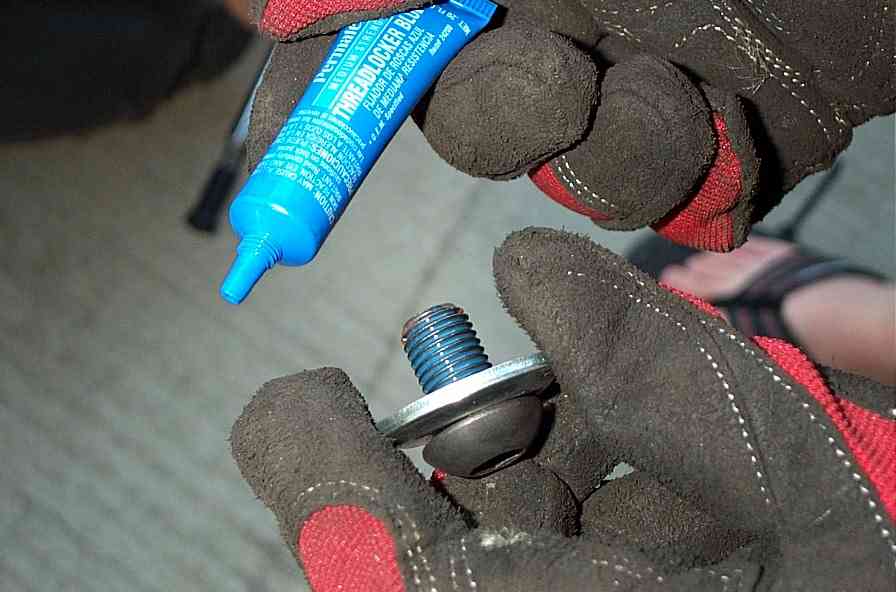
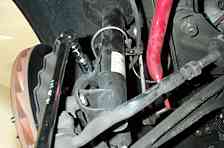
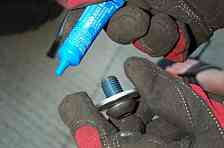
-Apply thread locker to the supplied bolt & washer and secure the Koni insert.
-Put the rubber sleeve over the Koni and top of the strut housing to keep debris out.
Step11: Put the rubber spring perch gasket back on, and seat
the new spring properly on the spring perch. Review step 7a for reinstallation
and securing the top mount.
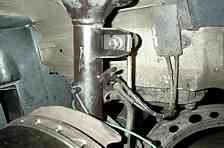
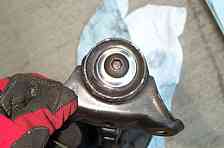
Step12: Re-install the endlink to the bracket and re-attach all
the lines/hoses to the bracket.
-REAR-
Step1: Inside the trunk, remove the tail light covers. Then fold
the carpet liner out of the way to access the rear top shock mount. Remove the
two bolts securing the shock mount.
*If you're going to replace the shocks or install a new shock
mount, loosen the nut on the shock piston before you remove the top shock mount
nuts.
Step2: Remove the 18mm bolt securing the shock to the lower
arm.
*Remove the shocks on both sides first.

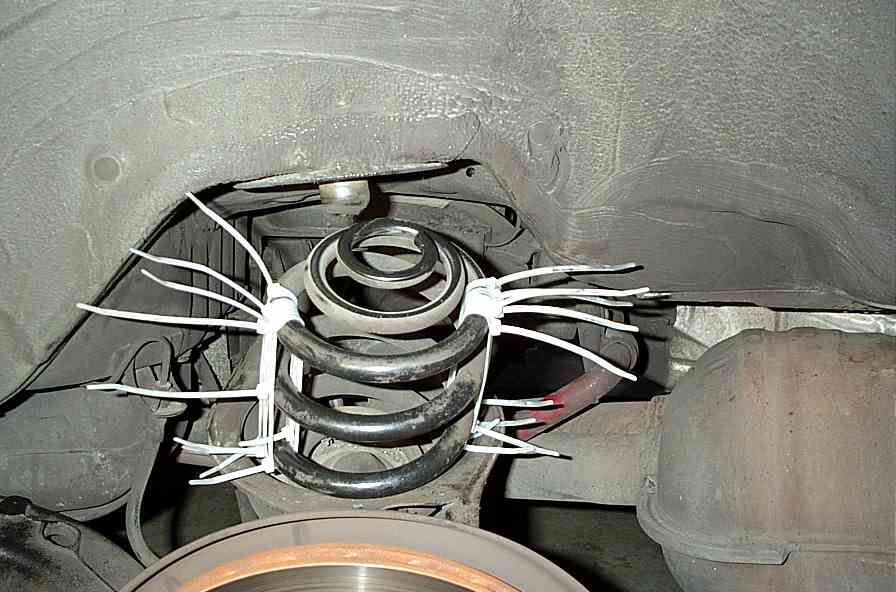
Step3: The correct method of removing the springs is to detach
the driveshaft. We used a different method. Using a jack, we raised the lower
arm to the point that the vehicle will almost lift. We then used several zip ties
(about 15) to tie the spring in it's compressed state. Once all the zipties are
secure, slowly lower the arm, push down a little on the arm and remove the spring.

Step4a (Springs only): If you're only installing springs, then
simply reverse the removal process for installation.
Step4b (w/shocks): You'll need to transfer the top shock mounts
to the new shocks. It's pretty straight forward, there's only one nut securing
it to the shock piston. When you transfer it over, be delicate when tightening
the nut. The torque for the top mount is only 13 ft. lbs. Reverse removal process
for installation.
Torque specs:
Bottom shock bolt connecting to lower arm: 57 ft. lbs.
Upper shock mount bolt to chasis: 18 ft. lbs.
Shock mount nut to shock piston: 13 ft. lbs.
Wheel bolt: 80 to 88 ft. lbs.
>>> Home