Koni shocks DIY supplement
*This is just an appendix to the spring/shock/coilover DIY
installation writeup. So far, I've found that only Koni does not come complete.
There's actually a little guide ring that you'll need to transfer from your OEM
struts. It's not difficult, but if you're switching from another aftermarket strut,
then you might run into trouble. I was switching from Tein basics so I ended up
finding some used struts for purchase just for those rings.
Tools needed: Vise, mallet.
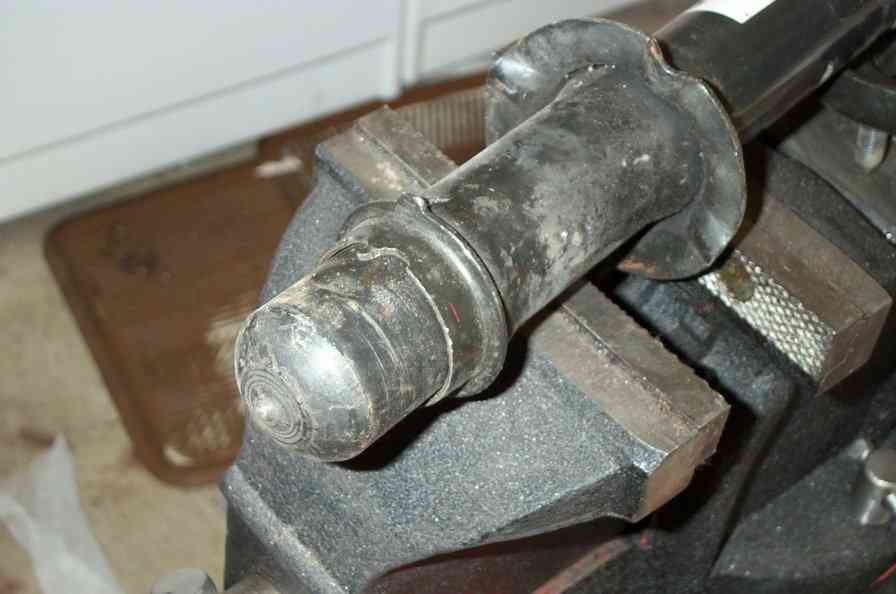
Step1: Assuming that the OEM strut and the Koni strut are off
the vehicle, set them in a vise without tightening it. The strut should be able
to move freely hanging only by the ring on the bottom of the strut. If you haven't
removed the OEM from the vehicle. You can check out the spring/shock DIY if needed.

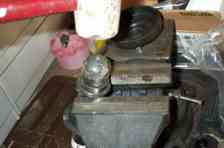
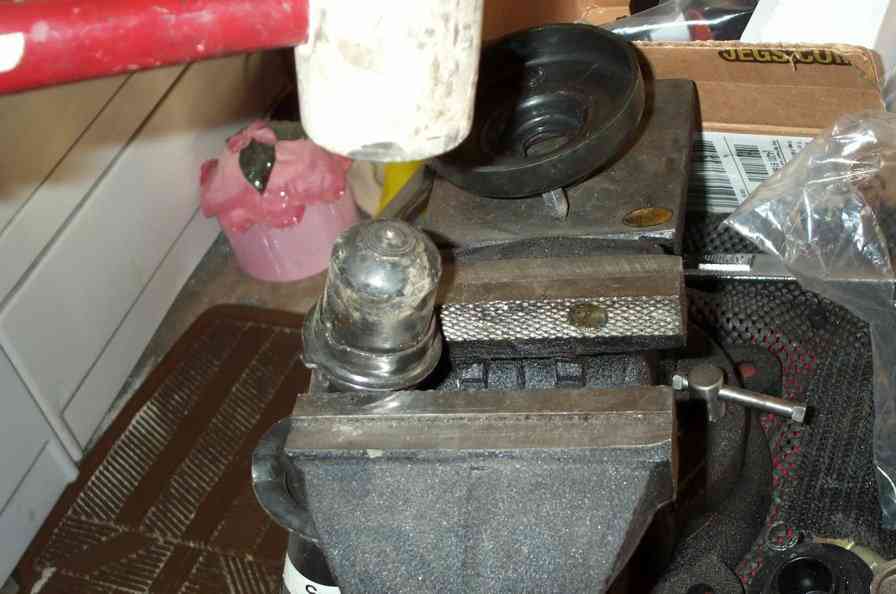
Step2: Use the mallet to knock the strut loose from the ring.

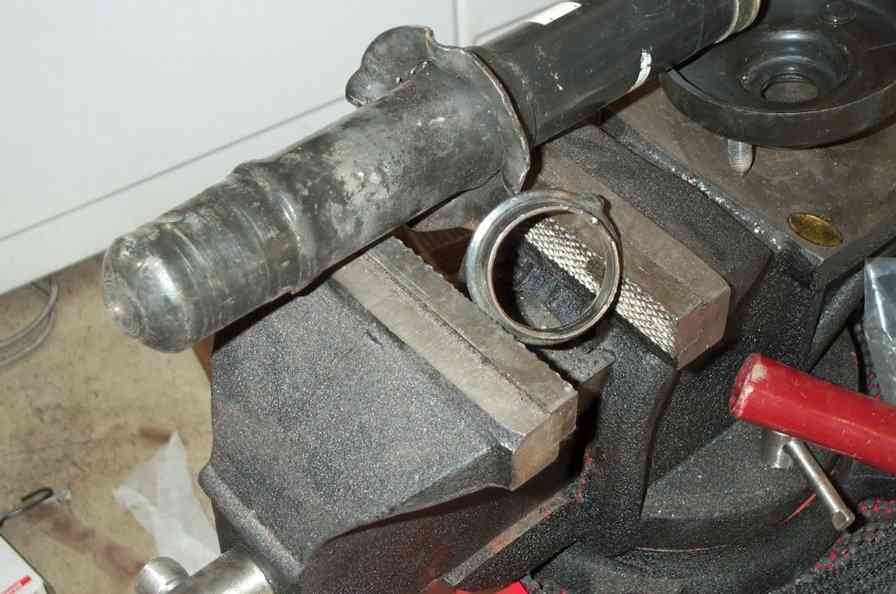
Step3: Transfer it to the Koni shocks. Make sure the tab aligns
with the indentation on the Koni shocks.
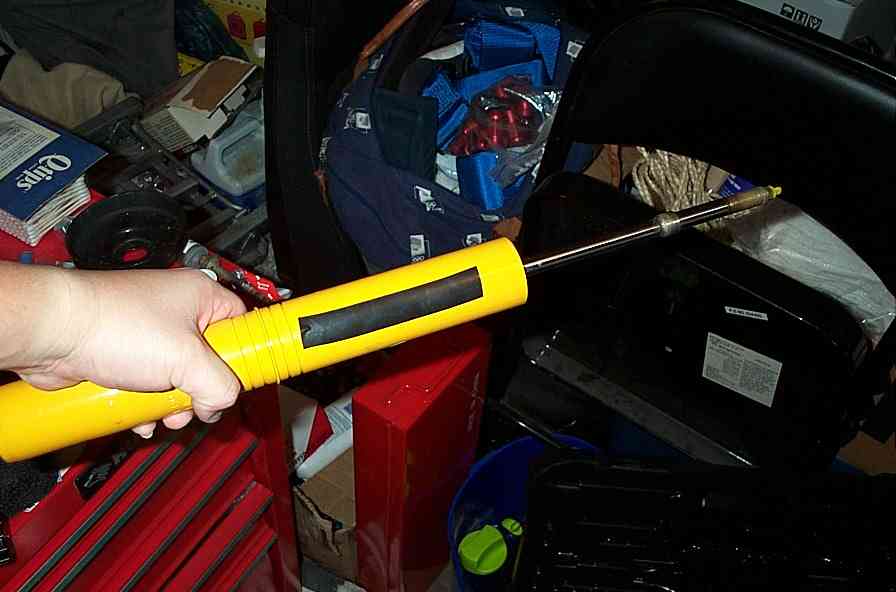
Step4: If you're using the Koni's with the Ground Control kit.
I highly recommend the koni specific kit. The sleeve fits perfectly over the Koni
shocks. To keep the sleeve very snug and tight on the Koni shocks, apply one strip
of vinyl tape down a straight line before sliding the sleeve over the shock.

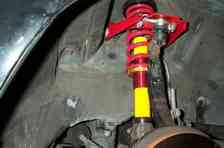
-Installed-
>>> Home