Pivot Shift light Installation
*I find it strange that on DX and CX models with 5-speed manuals
do not have a tach, yet on the LX models which have automatic do have them. I
had the same thing on my GMC Truck before, but at least it came with a shift light.
That was just my rant. Even if you have a tach, it's important to keep your eyes
on the road and not staring at what rpm you're at especially if you're racing
(legally I hope). Since I do both autocross and track days, it's important to
maximize the acceleration without taking my eyes off the road. This is where the
shift light comes into play.
**The pivot shift light that I installed is their higher line model which has
an easy adjustment knob. I know some will argue about the installation procedures
claiming that the ultimate accuracy is tapping into the wire in the engine bay.
Well, I'm the type that avoids extra work if it's not needed so I attempted to
tap into the instrument cluster wire initially. It worked.
Tools needed: Wire stripper, crimper, tap connectors, rachet
set, phillip head screwdriver.
Step1: I HIGHLY recommend disconnecting the negative terminal
of the battery.
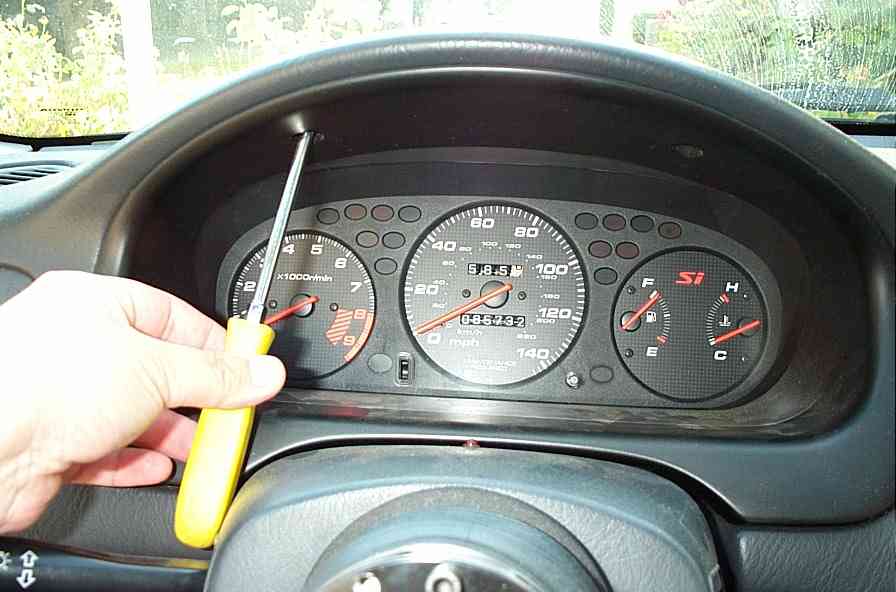
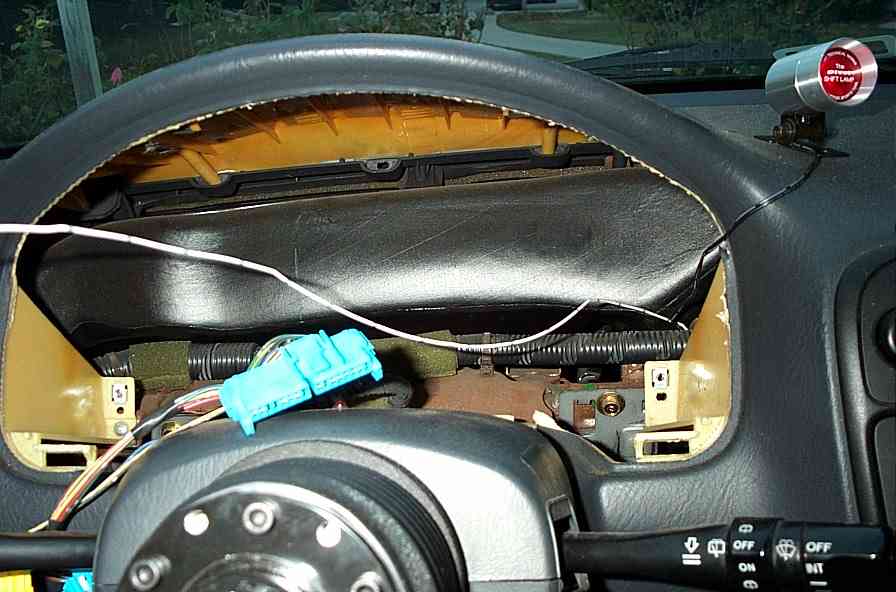
Step2: You'll need to start off by removing the instrument gauges.
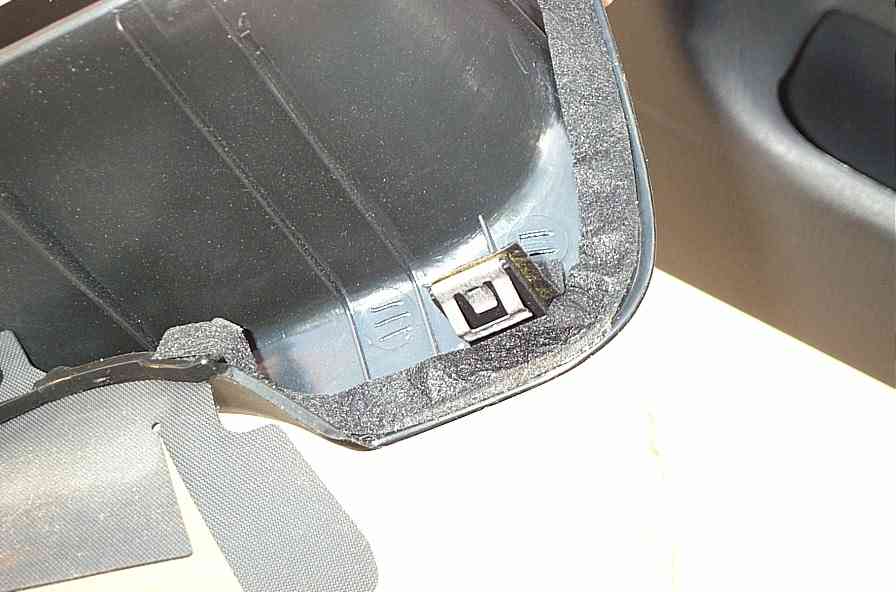
To remove the bezel, remove the 2 screws up top and pull the bottom section straight
toward you. It's held in by metal retaining clips.


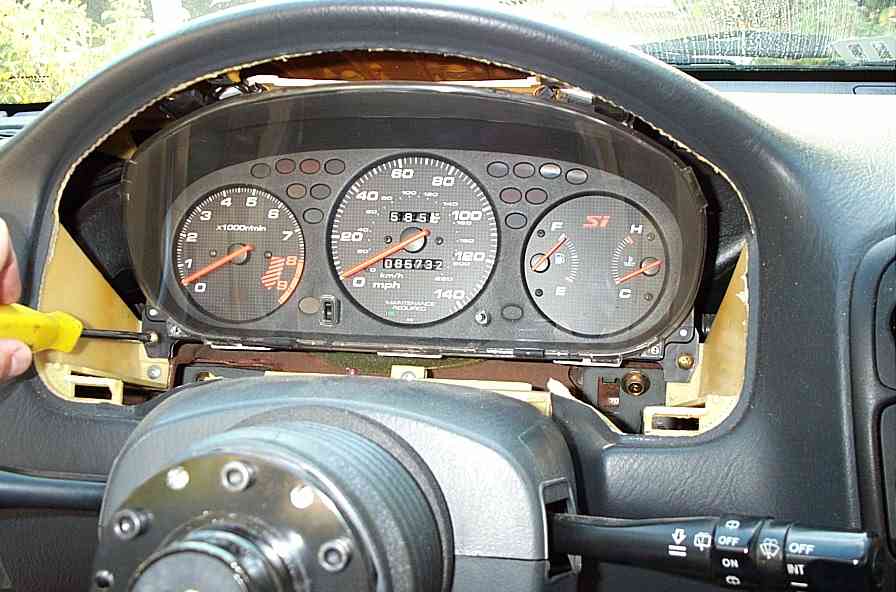
Step3: To remove the instrument gauge, there are 4 screws holding
the gauge in place. 2 up top, 2 on the bottom. Once all the screws are removed,
slowly tilt the gauge forwad to access the harness on top. On the harness, push
the tab button that locks the harness in place and pull the harness off the gauge.
Make sure you remember which harness goes to which slot. Remove the gauge.


Step4: Find a location to mount the shift light control module.
I initially mounted mine in the glove box against the inner side wall.
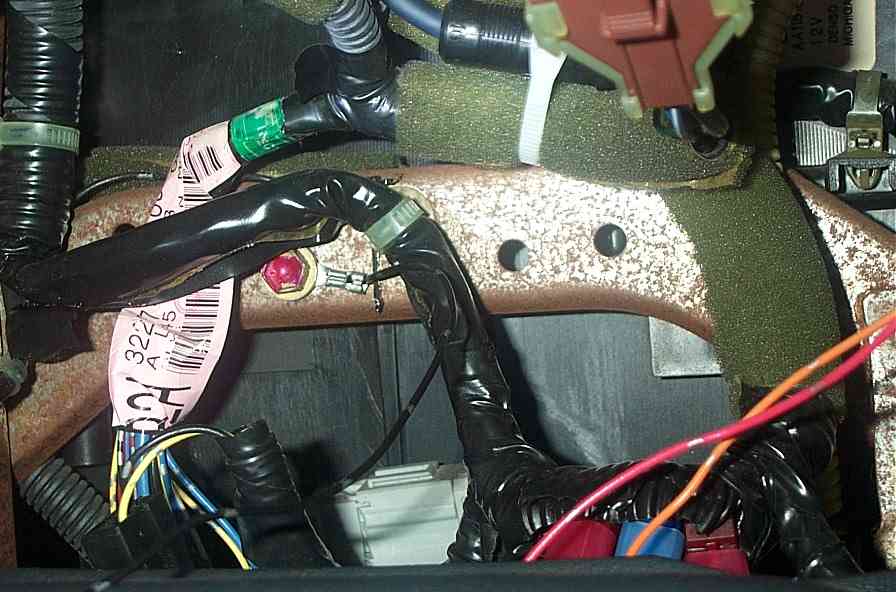
Step5: The pivot control module will have 4 wires coming out
of it. The black=ground, white=rpm input, red=ignition, orange=constant 12v power.
With the exception of the white wire, all the wires were tapped into the audio
harness that's located behind the cigerette 12v. plug panel.
-Red (ignition wire) is tapped into the Yellow/Red oem wire.
-Orange (12v constant) is tapped into White/Blue oem wire.

-Black (ground wire) is secured to an existing bolt in the dash frame. Just loosen
the bolt enough to squeeze the end ring into place.

Step6: Route the rpm wire from the glove box to the instrument
area. You should be able to see and the glove box from the instrument opening.
Use a wire clothes hanger to feed the wire. You'll also need to feed the shift
light wire from the instrument opening to the glove box in order to connect to
the control module.

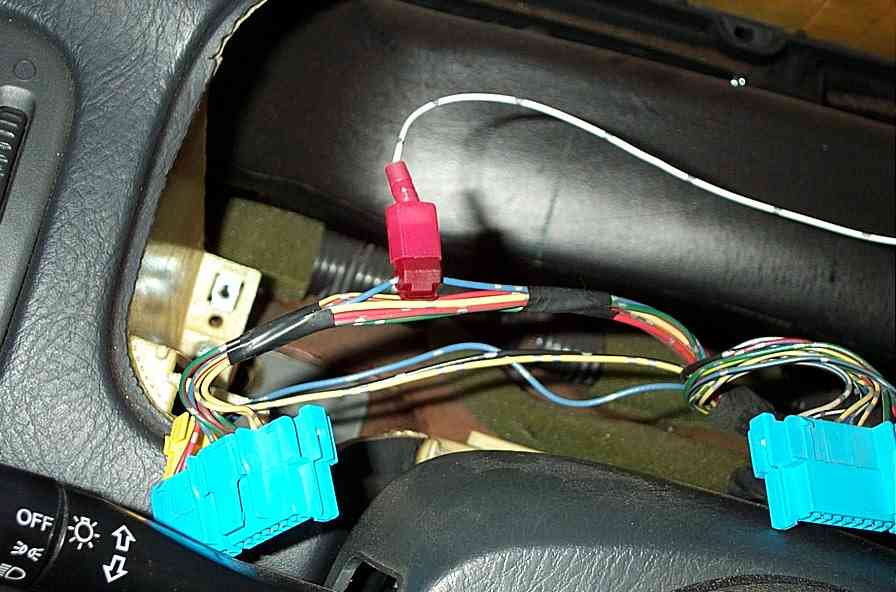
Step7: Tap the white wire into the RPM wire of the instrument
harness which will be on the far left (closest to the driver door). You'll need
to tap into the Blue wire.

Step8: Keep it neat. Once you're done and ready to re-assemble
everything, tape up or zip tie any excess wires and zip tie them against another
harness or frame so that they don't flop around.
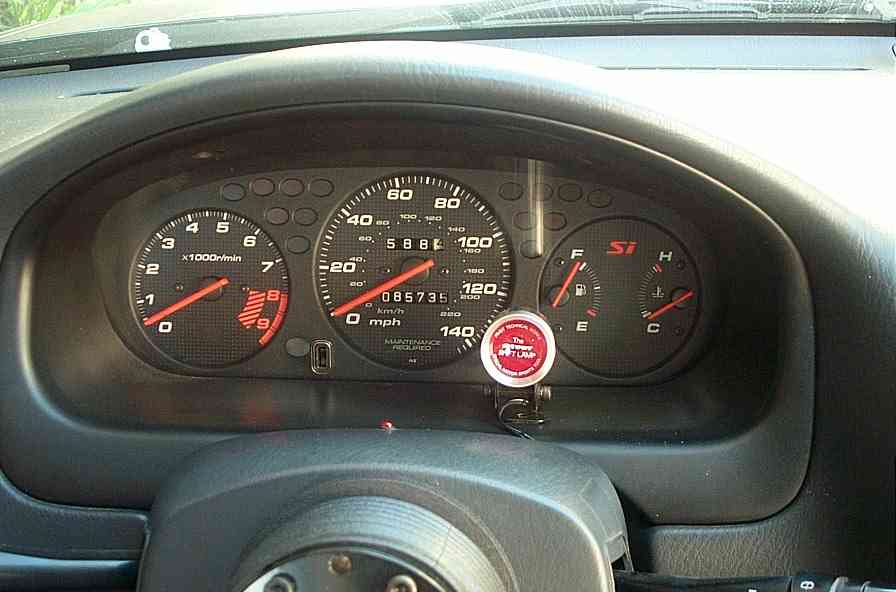
-Shift light installed-

Step9: Setting is a little difficult since most people don't
have access to an abandon area. If you do, great. If not, the freeway might be
your only option. Try to do it when the roadways are free of traffic as much as
possible. Try to set it in 2nd gear since it tops out in the 60-70 mph range.
Start off by turning the knob all the way to the right. As you hit the rev limiter,
turn the knob back to the left until you see the constant red light. From there,
you'll need to fine tune where/when exactly the light activates.
>>> Home