Spring & Shock installation guide
*I'll be blunt. The suspension supplied on the Civic absolutely
sucks. Understeer, snap oversteer, body roll from hell, etc...
*The proper choice for upgrading your suspension really depend on what type
of driving you're looking to do. Street, agressive street, show, autocross,
road race. So there's no real 'Best Setup' out there.
Tools needed: Ratchet set, 1/2"
head breaker bar, impact wrench (optional), hex wrench set, torque wrench, zip ties,
spring compressor, open ended wrench set.
-FRONT-
Step1: Loosen the wheel lugs on the wheels and jack the vehicle
up on jackstands. Slide the wheels under the vehicle for extra safety.
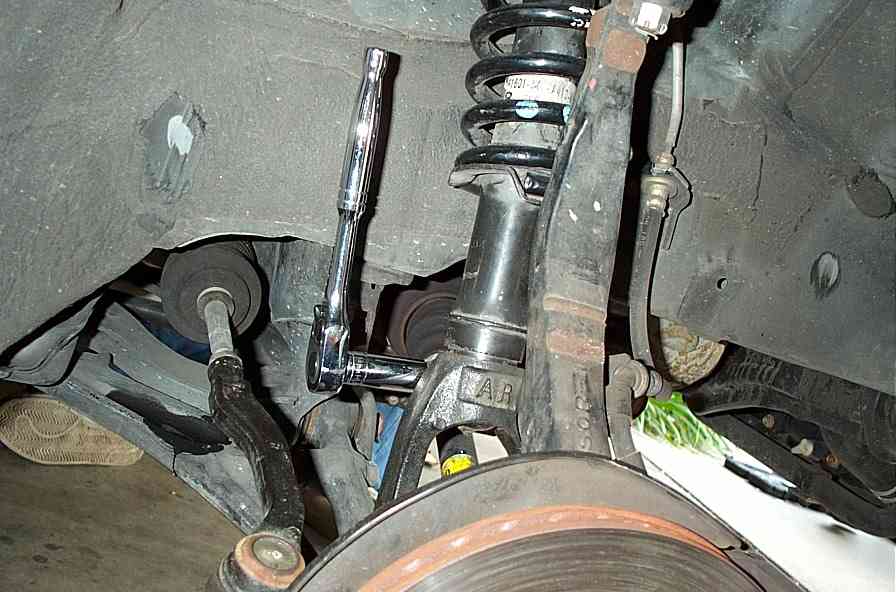
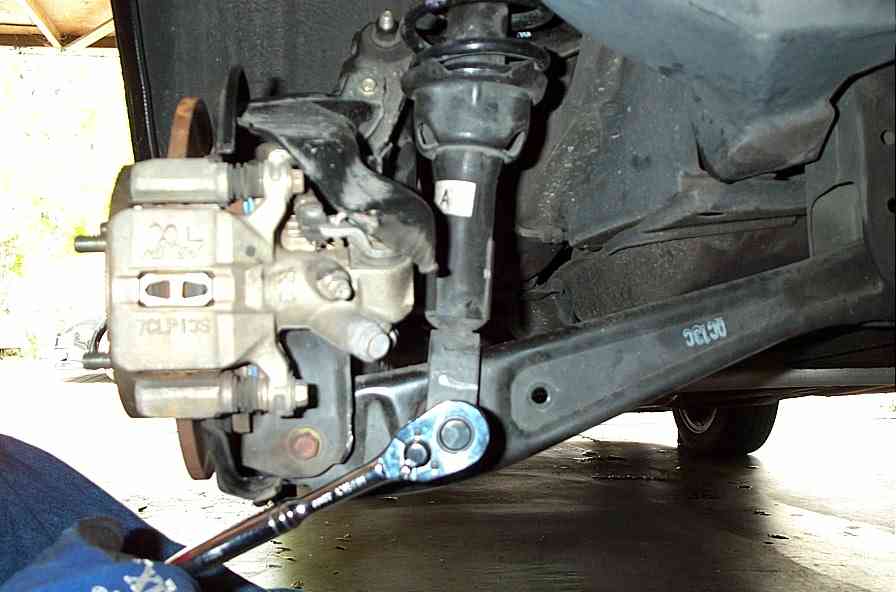
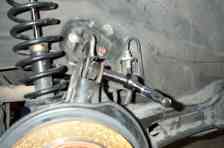
Step2: Remove the bolt holding the strut to the strut fork. seperate
the the two.
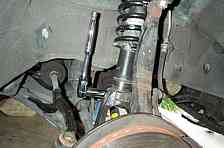
Step3: Remove the bolt holding the suspension fork to the lower
control arm.
Step4: Remove the top shock mount bolts. Remove the suspension.
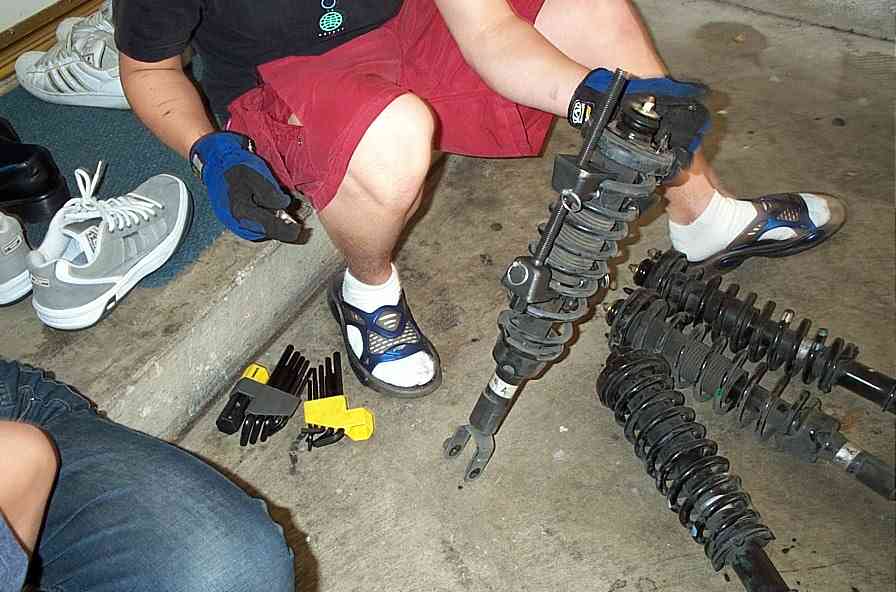
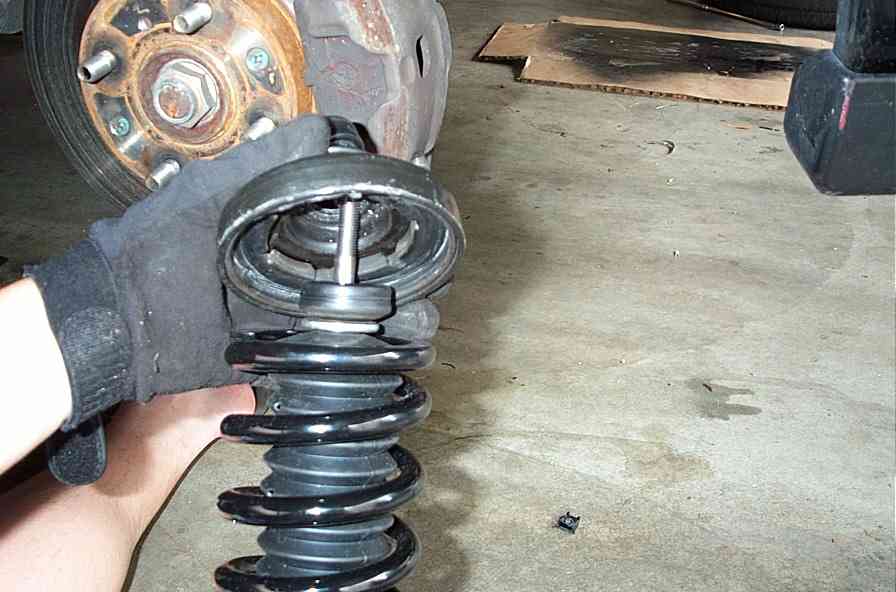
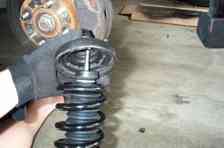
Step5: Using a spring compressor, compress the springs to allow
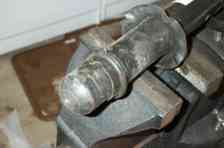
safe removal of the top mount. Remove the top mount nut. Use a hex/allen wrench
to hold the shock piston while you use an open ended wrench to loosen the nut.
If you're not reusing the shock, then you can use an impact wrench. Pay attention
to the components of the top mount. there's a lot of washers and bushings.

Step6: At this point, take your new/old spring that you're going
to use, and place it on the new/old shock you're going to use. Make sure the bottom
spring is seated properly on the shock's spring perch. For most shocks, you'll
be able to use all the components of the top mount. I know that for Koni you cannot
use the dust boot.
*For Koni shocks, check out the KONI DIY supplement.
Step7: Put the top mount onto your new shocks/springs/ or coilovers.
Most lowering springs will not require a spring compressor to put in their springs.
If you're just switching to new shocks and reusing the oem springs, then you'll
need to compress them. You don't need to fully tighten the nut for the top mount
until it's fully installed. You get better leverage that way.
Step8: Reinstall everything the same way you removed it. Unless
it's a full coilover, you'll need to re-align the base of the strut into the fork
properly. There's a notch on one side. This notch contours around the bolt going
through the fork. Once done, then tighten the top shock mount nut.
-REAR-
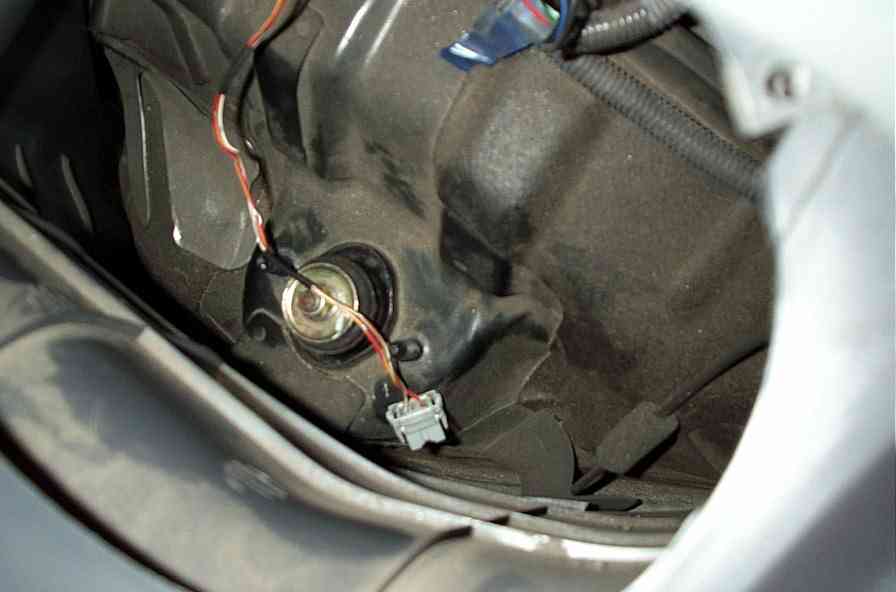
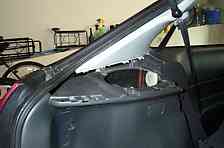
Step1: I'm sure it's easier on the coupe and sedan, but for the
hatches, you'll need to remove the speaker grill and speaker to gain access to
the top mount bolts. To remove the speaker grill, there's 3 screws. 2 should be
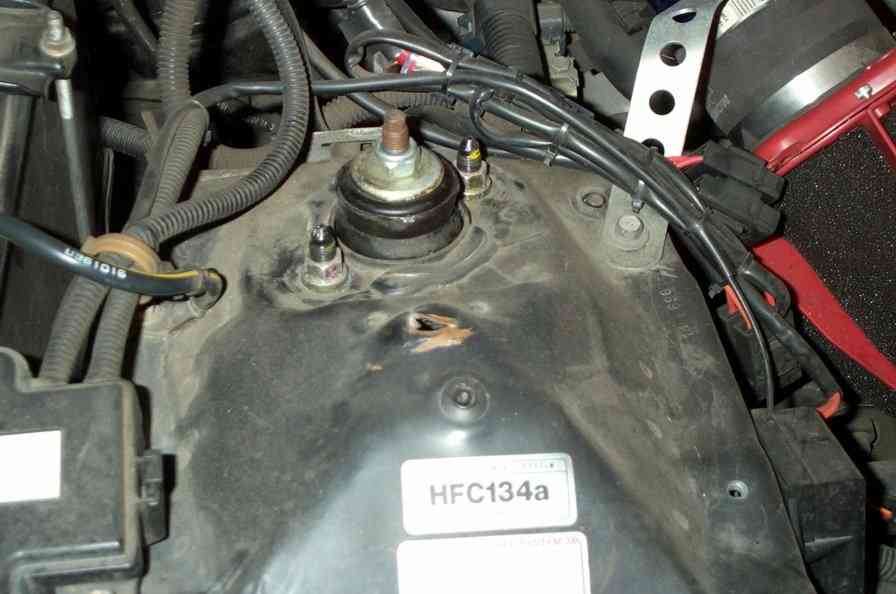
visible from above, the 3rd is facing the front of the car. Unbolt the two nuts
securing the top mount of the suspension.
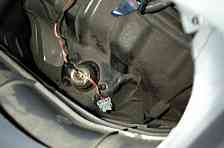
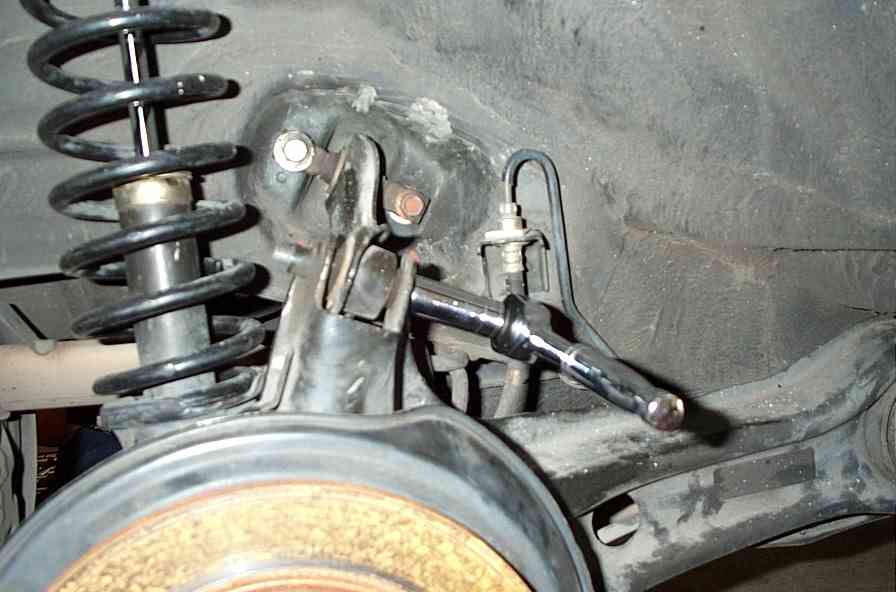
Step2: Once you've removed the 2 shock mount bolts, you can work
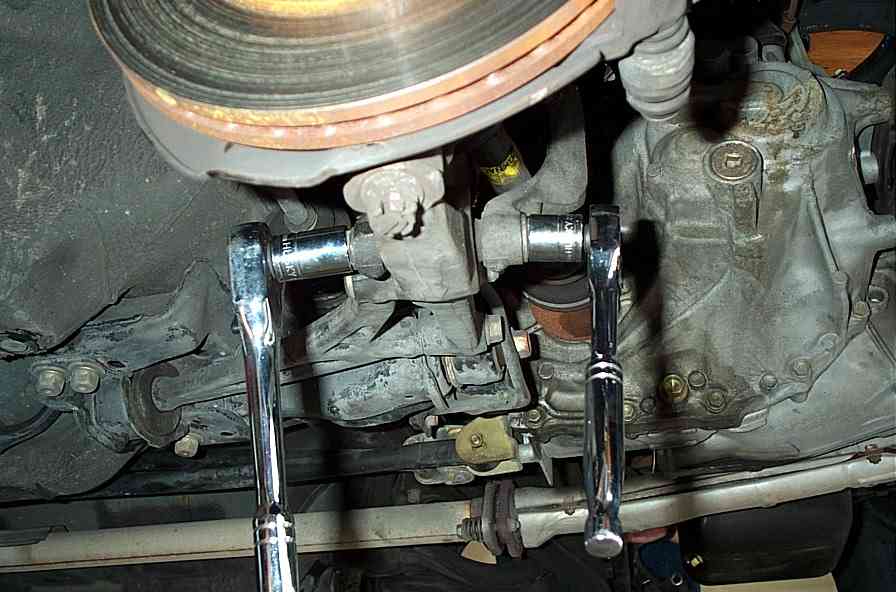
outside of the car. First remove the bolt securing the strut to the lower control
arm.
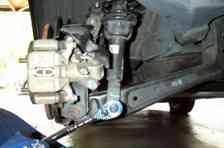
Step3: Remove the bolt connecting the upper arm to the trailing
arm.
Step4: Remove the suspension assembly and disassemble it in the
same fashion as how the fronts were done.
Step5: Reinstall new unit.
Torque specs:
Bottom shock bolt connecting to lower arm: 37 ft. lbs.
Upper arm bolt connected to trailing arm: 37ft. lbs.
Top mount to chasis: 32 ft. lbs.
>>> Home