HID Projector Retrofit DYI Instructions (Page 2)
**If you prefer, this would be a great time to paint your housings to a color of your choice, and/or paint the lens bracket of the projectors.
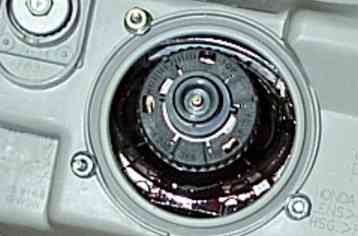
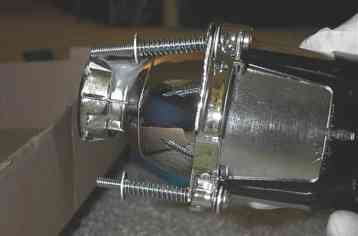
Step 7: Take the projector and test fit it as you would the final assembly using the screws, springs, etc. As shown the in pic, the order should be bolt, washer (through the front side of the projector) spring, washer (then through the headlight casing), then the nut. *NOTE: There are only 3 mounting points. Place the reflector over it to make sure it clears everything.
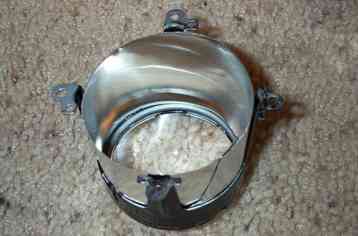
Step 8: Once everything fits right, it's time to prepare the projector itself. There is an opening near the end where the bulb will sit. Moisture can get in so it will need to be sealed up. I used an aluminum sheet roll since it's very easy to work with. Cut a small piece enough to cover it up. Use JB Weld to completely seal up all the edges and to bond the aluminum piece to the projector.
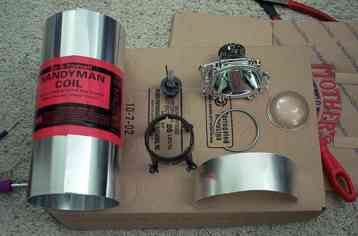
Step 9: You will also need to make a shield between the reflector portion of the projector to the lens so that the light is contained and escapes only through the projector lens. Once again, the aluminum sheet metal is used. Cut a piece and shape it oval to fit within the legs of the lens frame. You won't need to bond it to anything, it should stay once the frame is screwed on the the reflector portion.
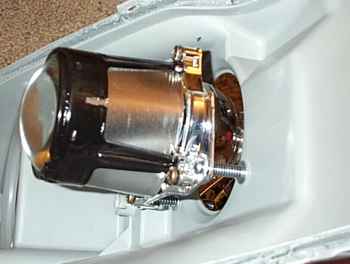
Step 10: Assemble the projector and reflector to the back portion of the headlight casing. Screw the bolts so that the springs are almost completely compressed but have some room for adjustment. You'll need all the clearance you can get. **Refer to step 7's pic.
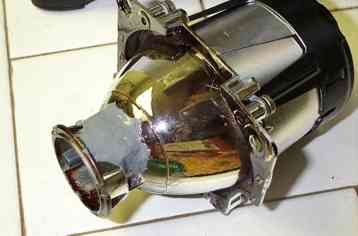
Step 11: For the single bolt on the side of the turn signal, you'll need to cut off the bolt almost flush with the nut in order to clear the body of the car. Use a dremel cut-off tool. Try to get the nut flush to the body of the casing. The pic below doesn't show it since I figured it out after I took the pic. The wall of the plastic will keep the nut from spinning which is important for future steps of this HID project.